
Backsplash Ideas
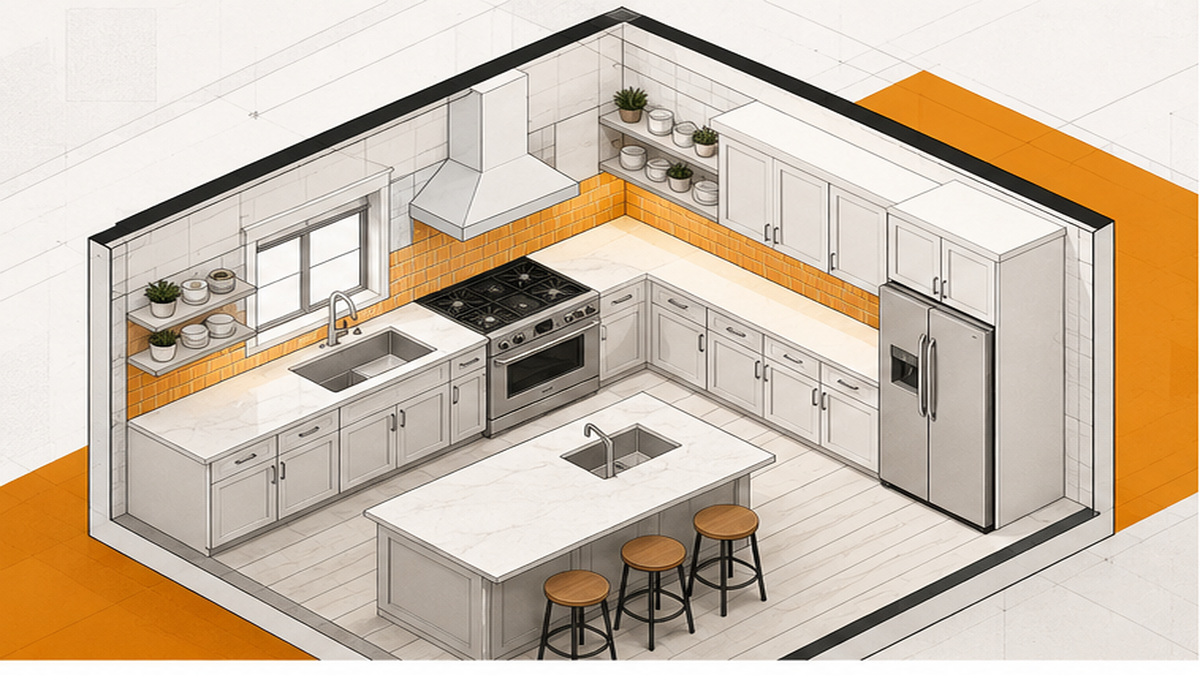
A well-planned backsplash protects kitchen walls from moisture and cooking splatter while tying the room's design together. Many homeowners in Franklin, TN, struggle with uneven tile layouts or misaligned grout lines that make a new kitchen look sloppy. Whether you are considering a classic subway pattern, a vertical stack, or a complex mosaic, the right idea depends on your cabinet style and wall prep. Oleksiy Kolesnyk and the team at Craftsman Tile and Stone have spent over 20 years installing custom tile features. This guide covers practical backsplash ideas, material choices, and planning steps to ensure your project looks precise and lasts for decades.
Practical Guidance for Backsplash Materials and Layouts
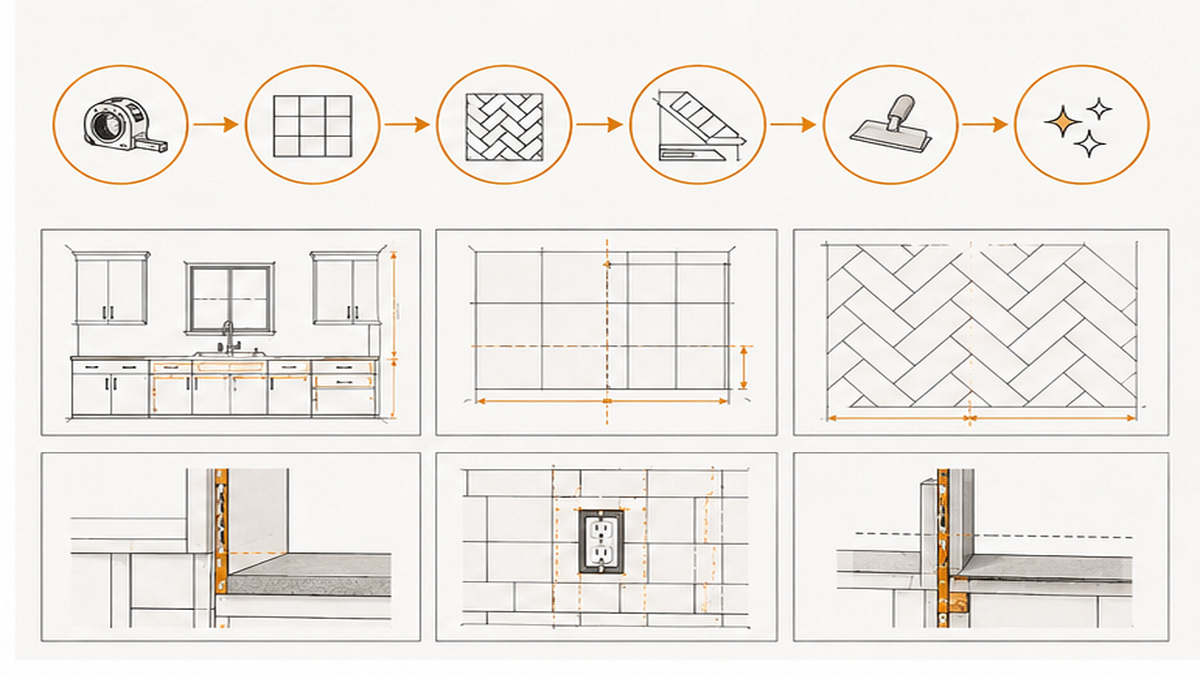
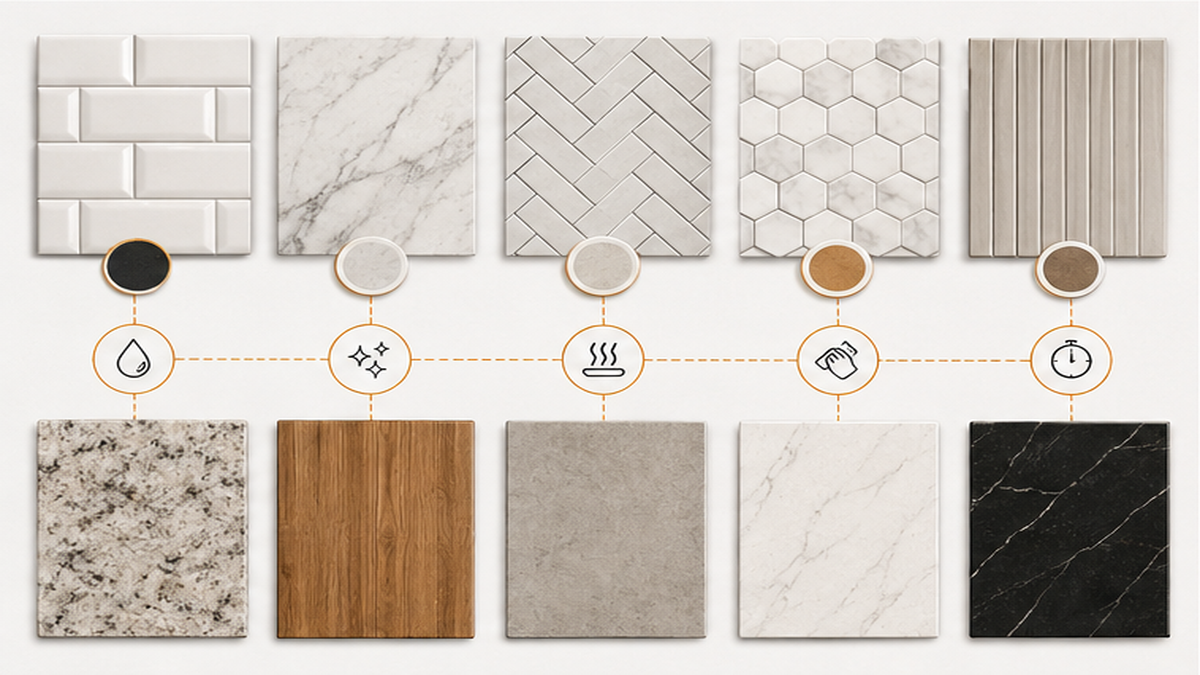
Selecting a backsplash involves more than just picking a color. The material and layout dictate how the wall handles daily wear and how the grout lines align with your cabinets and countertops. Ceramic and porcelain tiles remain popular for kitchen backsplashes because they wipe clean easily and resist stains. Glass and stone mosaics offer distinct textures but require specific setting materials to prevent shadows or moisture discoloration behind the tile.
Beyond the material, the layout pattern changes the entire feel of the room. A traditional horizontal brick lay offers a timeless look, while a vertical straight stack draws the eye upward, making ceilings feel higher. We also frequently install herringbone patterns for a more intricate, custom focal point behind a stove or sink.
Proper surface prep is the foundation of any successful Kitchen Backsplash project. We check the drywall for flatness and repair any damage before mixing thin-set mortar. If the wall bows, large-format tiles will suffer from lippage—where one tile edge sits higher than the next. Taking the time to flatten the substrate ensures a flush, symmetrical finish.
Key Decisions Before Starting Your Backsplash
Before scheduling an installation, you need to finalize a few practical details. First, decide where the tile will start and stop. Will it run only between the countertops and upper cabinets, or will it extend to the ceiling around windows and range hoods? Extending the tile creates a striking Accent Tile Wall, but it requires more material and careful layout planning to keep grout lines symmetrical across a larger space.
Next, consider your outlet cuts. Kitchens have multiple electrical outlets, switches, and sometimes pot fillers. We plan the tile layout so these cuts fall cleanly within the pattern, rather than leaving awkward slivers of tile around your switch plates.
Grout selection is another major decision. You can choose a contrasting grout color to highlight the tile shape or a matching color for a subtle, blended look. We recommend discussing these options during the estimate preparation checklist phase. Finally, think about the timeline. A standard backsplash takes a few days to prep, set, and grout. You will need to clear your counters and plan for light dust, though we prioritize a clean jobsite and thorough cleanup at the end of each day.
Common Backsplash Installation Mistakes to Avoid
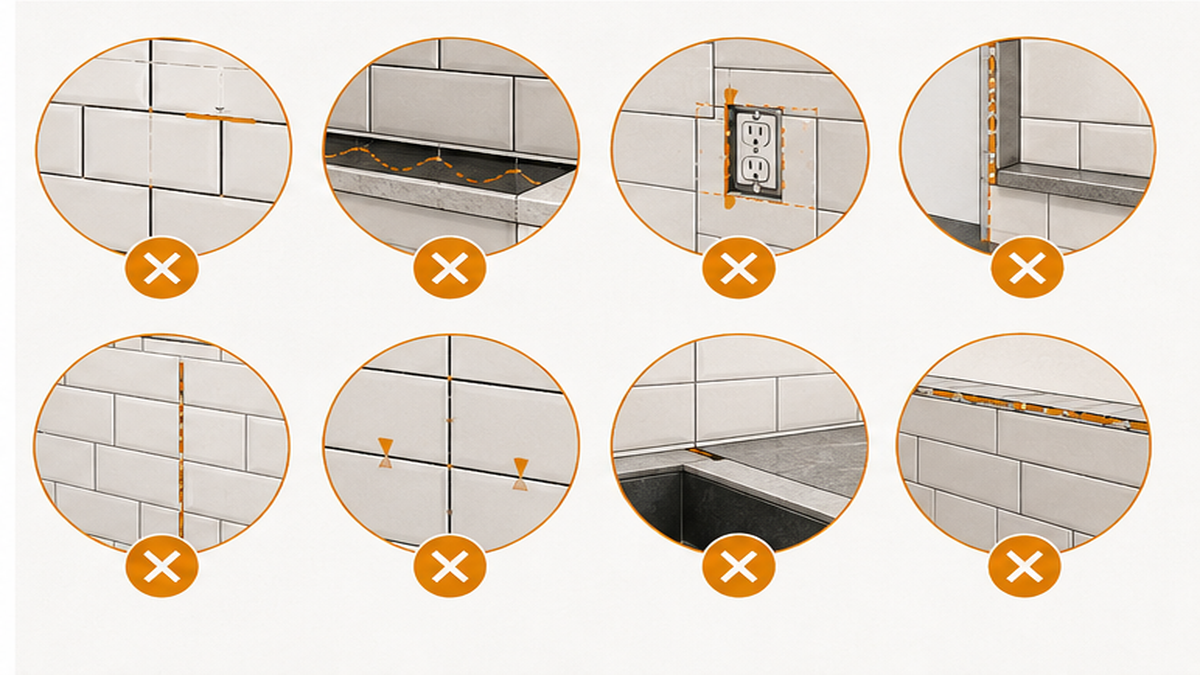
One of the most frequent mistakes we see is installing new tile over damaged or painted drywall without proper surface prep. Thin-set mortar needs a clean, sound substrate to bond correctly. Skipping this step often leads to loose tiles or cracking grout joints down the road.
Another common error is ignoring the countertop transition. The joint where the backsplash meets the countertop must allow for slight movement. Filling this corner with standard hard grout usually results in cracking. We use a color-matched, flexible sealant at this change of plane to prevent future damage.
Homeowners also sometimes purchase materials without accounting for waste. Complex patterns like herringbone require more cuts, meaning you need a higher overage percentage when ordering. If you run out of tile mid-project, the new batch might come from a different dye lot, resulting in a noticeable color shift. Always order at least 10 to 15 percent extra material. Lastly, trying to rush the layout planning often leads to asymmetrical cuts in highly visible areas. We measure the entire wall first to ensure the tiles look balanced around focal points like windows and range hoods.
When to Call a Professional Tile Contractor
While a simple, small backsplash might tempt a confident DIYer, most kitchen layouts involve complex cuts and strict alignment requirements. You should call a professional when your design includes intricate patterns, natural stone, or large-format materials that require specialized wet saws and handling techniques.
If your walls are noticeably uneven or damaged from removing an old backsplash, a professional installer knows how to repair and flatten the substrate before setting new tile. Attempting to hide a bowed wall with extra mortar usually results in a messy, uneven finish.
You also need a professional when working around multiple electrical outlets, under-cabinet lighting wires, or plumbing fixtures. Precise outlet cuts take experience to execute cleanly without breaking the tile. If you are planning a larger project, such as a Bathtub Wall Tile Installation or a full-height kitchen feature wall, hiring an experienced contractor ensures the layout is mathematically centered and structurally sound. Oleksiy personally handles every project, bringing an artistic background and strict attention to detail to ensure your new backsplash aligns perfectly with your home's design.
Related Services and Guides
Ready to Update Your Kitchen?
Common Questions About Backsplash Ideas
How is accent wall tile priced per square foot in my area?
Should your backsplash be lighter or darker than a countertop?
How long does backsplash installation take?
Who should I hire for accent wall tile in my area?
Maintenance Tips for Your New Backsplash
Keeping your new backsplash looking pristine requires simple but consistent maintenance. For everyday cleaning, wipe down ceramic and porcelain tiles with a soft cloth and a mild, pH-neutral cleaner. Avoid harsh abrasive sponges or highly acidic chemicals, as these can degrade the grout joints over time.
If you chose a natural stone backsplash, you will need to apply a penetrating sealer periodically to protect the porous surface from cooking oils and food splatters. We recommend checking the sealant every year by splashing a few drops of water on the stone; if the water absorbs and darkens the tile instead of beading up, it is time to reseal.
Pay special attention to the area directly behind the stove, where grease tends to accumulate. Wipe this section down immediately after cooking heavy meals. Additionally, inspect the flexible sealant joint where the tile meets the countertop annually. If you notice any peeling or gaps, remove the old sealant and apply a fresh bead to keep moisture and debris from getting behind your cabinets. For more details on budgeting your next project, review our Backsplash Tile Installation Cost Guide or explore our Tile Wall Installation services.