
Bathtub Wall Tile Installation
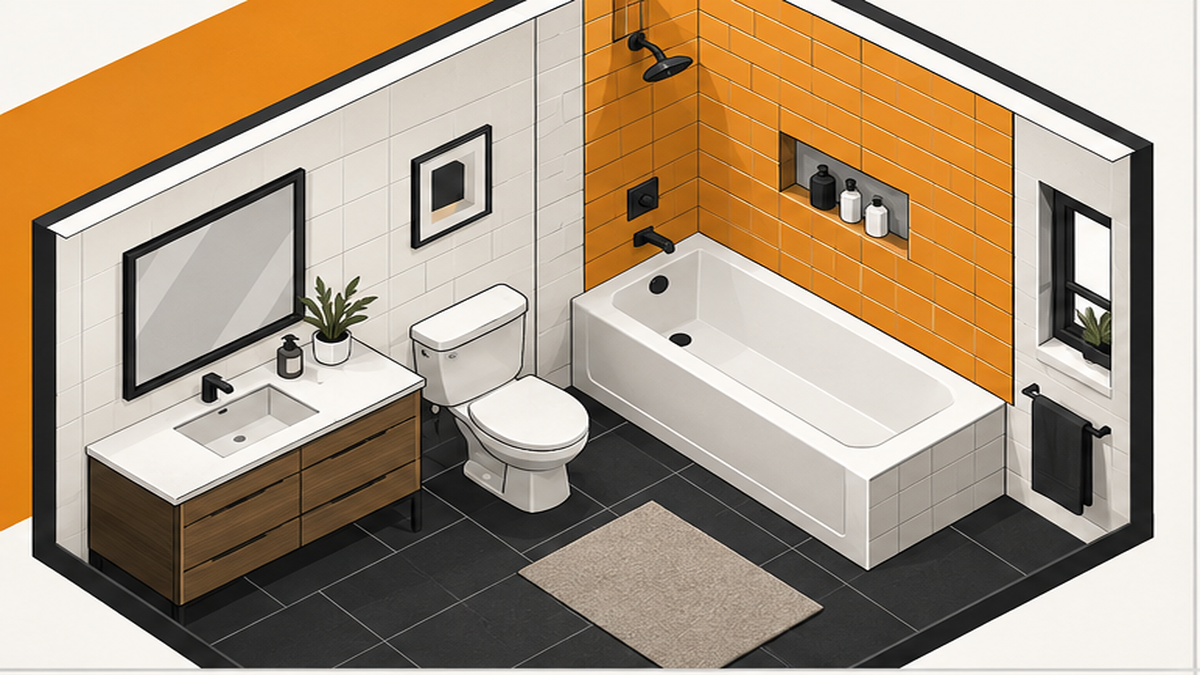
Bathtub wall tile installation requires removing old material, checking the wall studs for damage, installing a proper substrate board, and setting the new tile with exact alignment. Many Franklin homeowners worry about uneven tile layouts, misaligned grout lines, or a messy jobsite when updating the walls around their tub. Oleksiy at Craftsman Tile and Stone handles these projects by focusing on precise layout planning and keeping your home clean from demolition to the final polish. Whether you are adding a decorative surround or updating the wall above a freestanding tub, careful surface preparation is the only way to ensure the tile stays secure. We protect your floors, set up our cutting station outside, and walk you through the exact layout before mixing any thin-set mortar.
The Wall Tile Installation Process
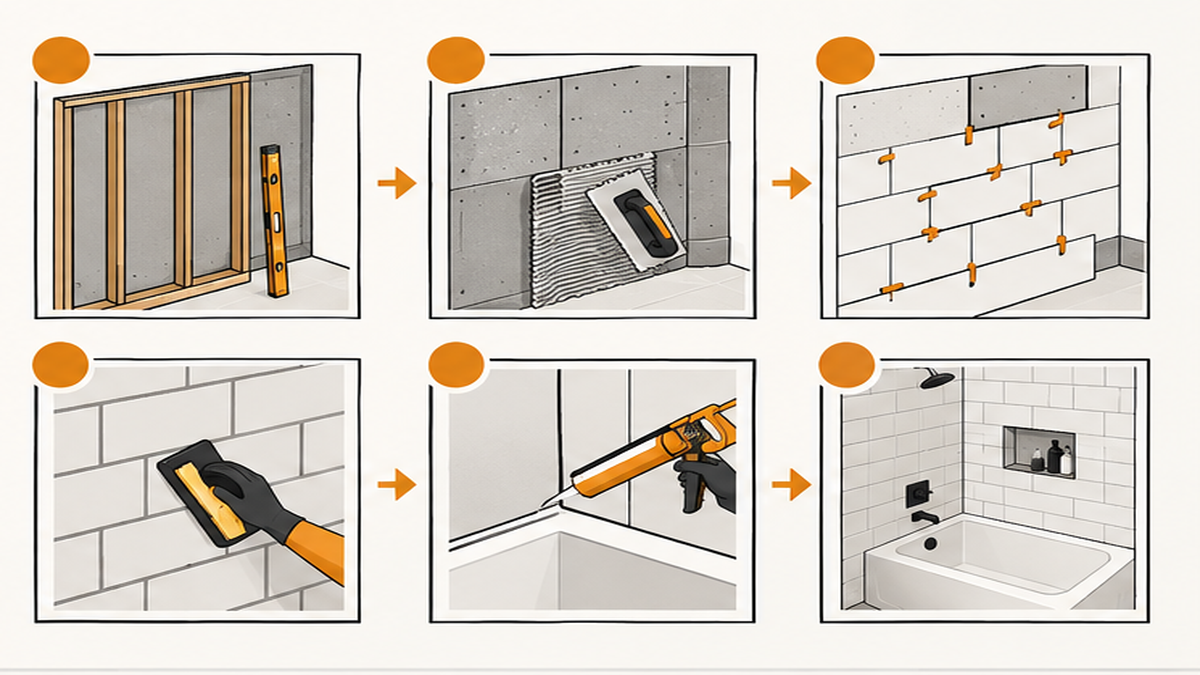
Wall tile around a bathtub needs a flat, stable surface to prevent cracking and lippage. When adding tile walls & backsplashes to your home, the preparation dictates the final quality. Here is what the installation process looks like:
- Demolition and inspection: We remove the existing wall covering down to the studs to check for hidden structural rot.
- Substrate preparation: We install a proper substrate board, ensuring the walls are plumb and flat.
- Layout and dry-fit: We plan the tile layout to avoid narrow, awkward cuts in the corners and ensure symmetry across the main wall.
- Setting the tile: Using polymer-modified thin-set mortar, we secure the tile, checking alignment row by row.
- Grouting and finishing: Once the mortar cures, we apply grout and seal the joints, leaving a clean surface.
If you are planning a tile wall installation for your space, remember that large-format tiles require flatter walls than smaller mosaics. We assess the wall condition during our initial visit to provide clear pricing before work begins.
Choosing Materials and Layouts
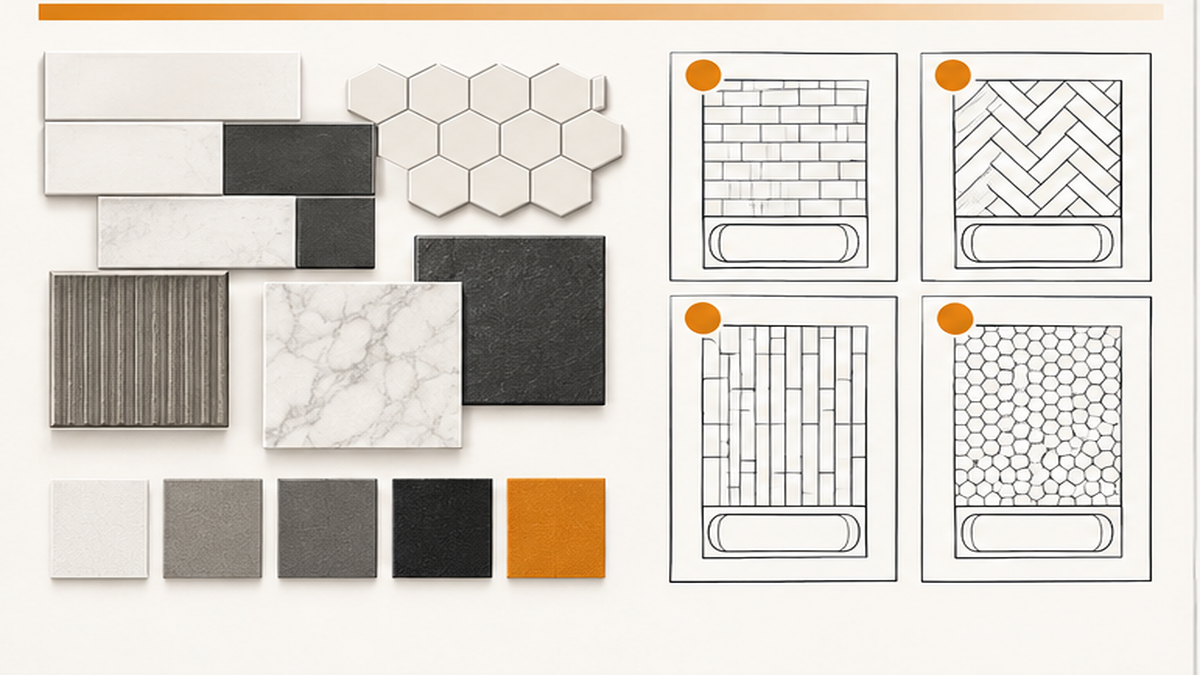
Choosing the right material and layout impacts both the timeline and the final look of your bathtub surround. Here are the main factors to consider:
| Material Type | Installation Consideration |
|---|---|
| Ceramic Tile | Easier to cut, great for standard tub surrounds, available in many colors and finishes. |
| Porcelain Tile | Denser and heavier, requires specific cutting tools, excellent for high-use areas. |
| Glass Tile | Often used as an accent, requires specific white thin-set mortar to prevent color shadowing. |
| Natural Stone | Requires regular sealing, adds significant weight to the wall, offers a classic, textured look. |
Beyond the material, you need to decide on the pattern. A standard horizontal brick lay is traditional, while vertical tile layouts can make the ceiling feel taller. When we review your project in Williamson County, we will discuss how your chosen tile shape interacts with the tub deck and ceiling height. If you are also looking for backsplash ideas for a nearby vanity, coordinating those materials early keeps the design cohesive.
Common Mistakes to Avoid
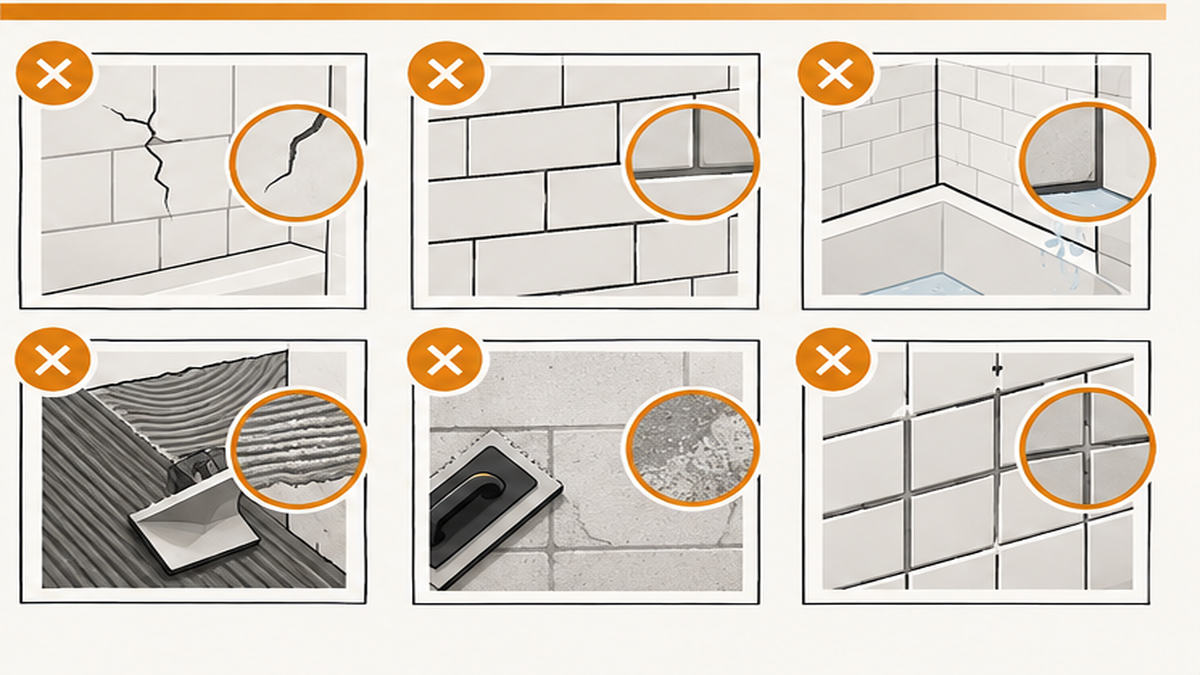
The most frequent issue we see with DIY bathtub wall tile is poor layout planning. Starting with a full tile at the bottom often leaves a tiny, uneven sliver of tile at the ceiling. We calculate the layout from the center out and top to bottom to ensure symmetrical cuts. Another common error is installing new tile directly over damaged drywall. Tile is heavy, and standard drywall cannot support the weight or resist moisture near a tub. We always strip the wall to the studs and install a dedicated substrate board. Finally, using the wrong adhesive causes long-term failures. Premixed mastic might seem convenient, but it can re-emulsify if it gets wet. We strictly use professional-grade thin-set mortar for all wall installations. Avoiding these shortcuts prevents tiles from popping loose and keeps your grout joints looking sharp for years. If you are planning a broader bathroom remodeling update, we can coordinate the dry-area wall tile phase to ensure everything aligns correctly.
When to Call a Tile Contractor
You should call a professional tile contractor when your project involves large-format tiles, complex patterns, or walls that are noticeably out of plumb. Setting a heavy tile on a vertical surface requires specific mortar mixing and support techniques to prevent the tile from sliding before it cures. If you notice a bouncy floor near the tub or suspect hidden structural rot behind the existing walls, a professional inspection is necessary before any new material goes up. Oleksiy has over 20 years of tile and stone experience, meaning we know how to correct framing issues so your new tile sits flat. If you want a precise accent tile wall above your tub without the stress of misaligned grout lines or a messy house, bringing in an experienced craftsman ensures the job is done right the first time.
Related Tile Services
Ready to Update Your Walls?
Common Questions About Wall Tile
How is accent wall tile priced per square foot in my area?
What do you put behind shower wall tile?
How long does backsplash installation take?
Who should I hire for accent wall tile in my area?
Maintaining Your Wall Tile
Keeping your new bathtub wall tile looking sharp requires simple, consistent maintenance. Wipe down the walls with a squeegee or microfiber cloth after use to prevent hard water buildup on the tile surface. Use a pH-neutral tile cleaner rather than harsh acidic chemicals, which can degrade your grout joints over time. If your installation includes natural stone, you will need to reapply a penetrating sealer periodically to protect the material from absorbing moisture and stains. Inspect the transition joints where the tile meets the tub deck annually; this area uses flexible sealant rather than rigid grout, and replacing it when it shows signs of wear prevents moisture from getting behind the wall.