
Kitchen Tile Flooring Cost Guide

A worn, outdated, or damaged kitchen floor forces a decision: do you patch the problem or invest in a full tile replacement? Kitchen tile flooring cost depends entirely on the specific materials you choose, the layout pattern, and the condition of the subfloor beneath your current kitchen. We do not publish a fixed price list because a firm quote requires an on-site inspection of your substrate and a clear understanding of your design goals. In Franklin, TN, quotes vary based on whether we need to remove old layers, repair deflection, or simply prep a clean slab. This guide breaks down the exact factors that drive your final estimate, what a professional installation includes, and how to prepare your space before Oleksiy arrives for a consultation.
Why Kitchen Tile Quotes Vary
Two kitchens with the exact same square footage often receive vastly different installation quotes. The final number changes based on what we discover during the on-site inspection. Substrate condition is the biggest variable. If your existing floor has bounce or deflection, we have to install proper cement backer board or an uncoupling membrane before setting a single tile. Laying new tile over a failing subfloor leads to cracked grout and loose tiles. Material choice also shifts the labor required. Dense porcelain or natural stone takes more time to cut and handle than standard ceramic. Large-format tiles demand a perfectly flat surface to avoid lippage, which means more leveling work. Mid-project changes requested by the homeowner will alter the final bill. If you decide to add a complex border or change the tile direction after work begins, the scope expands. A firm price is only set after we agree on a detailed work plan.
Main Cost Factors for Kitchen Floors
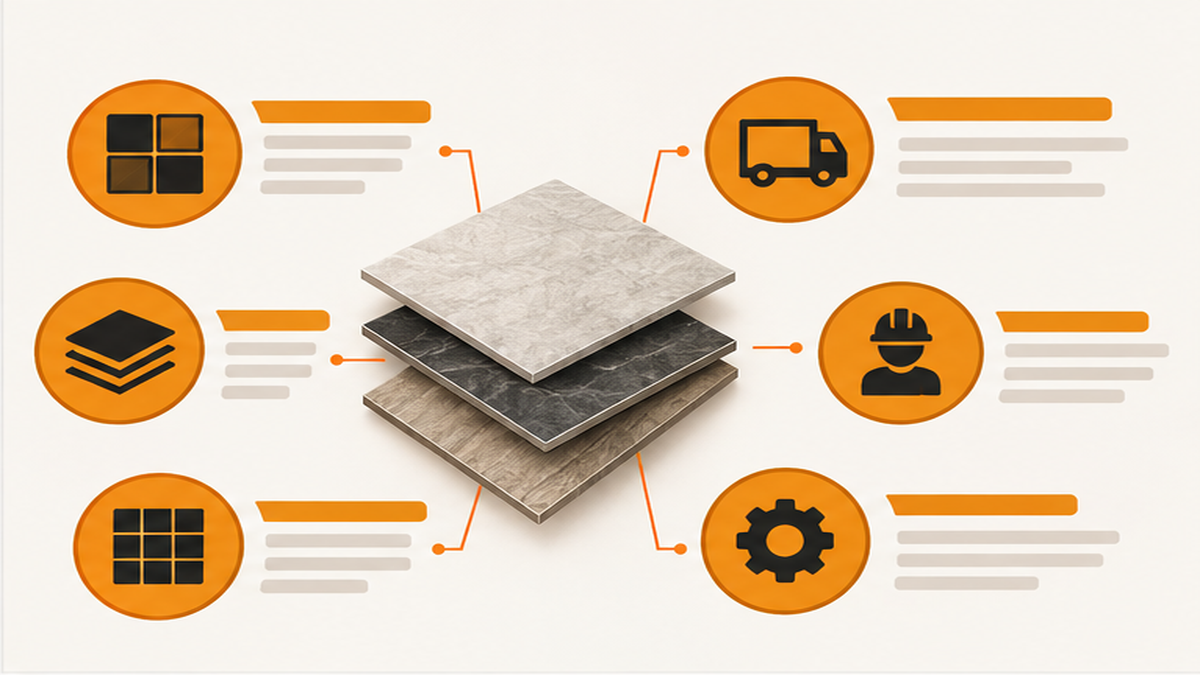
Several distinct variables determine your final estimate for Flooring Kitchen Tile:
- Tile Material and Quality: Your choice of tile drives a large share of the cost. Natural stone requires sealing and careful handling. Standard ceramic is generally faster to cut and set.
- Layout and Pattern Complexity: A straight grid pattern is the baseline for labor. Upgrading to a herringbone, chevron, or diagonal layout requires significantly more cuts, precise alignment, and extra time.
- Substrate Preparation: A flat, stable base is mandatory. If we need to pour self-leveling compound or install crack-isolation membranes, the labor and material costs increase.
- Demolition and Disposal: Removing existing flooring adds to the timeline. Hauling away old hardwood or multiple layers of previous tile requires heavy labor and disposal fees.
- Access and Occupied Homes: Working in a busy household in Williamson County means we take extra steps to protect your property. Setting up dust barriers and keeping the work area clean adds daily labor time.
What a Professional Quote Includes
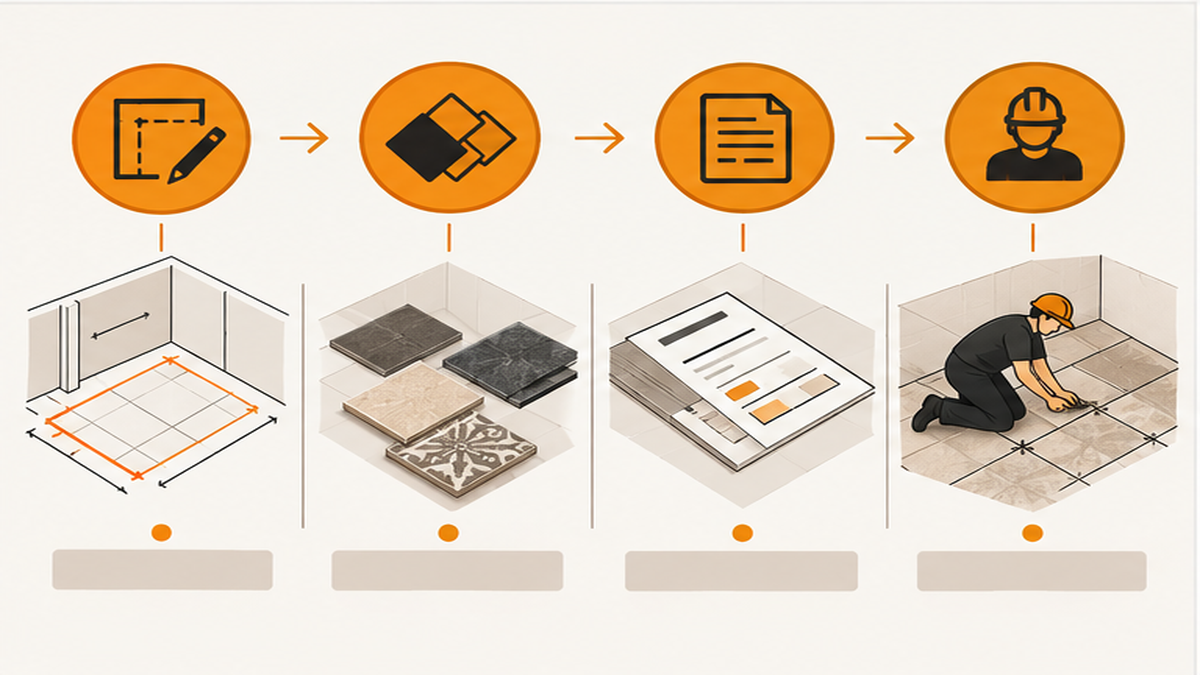
A professional quote from Craftsman Tile and Stone covers the complete scope of work from demolition to final cleanup. Your estimate includes the labor to remove and dispose of the old flooring. We include the cost of setting materials, such as premium thin-set mortar and grout, tailored to your specific tile choice. Substrate preparation is a core inclusion. We factor in the time and materials needed to secure the subfloor, apply uncoupling membranes, and ensure the surface is flat. The quote covers the precise layout planning, cutting, and setting of the tile itself. Finally, we include daily site protection and a thorough cleanup. We contain dust, protect your cabinets, and leave the kitchen ready for use once the grout cures. You supply the actual tile, while we handle the technical installation components.
Conditions That Increase Your Estimate
Certain site conditions and design choices will push your estimate higher. Discovering hidden damage after demolition is a primary factor. If we pull up old linoleum and find rotten plywood near the sink, that structural issue must be repaired before tiling begins. Choosing a highly complex tile pattern, like a tight herringbone or a custom mosaic border, drastically increases the cutting and alignment time. Large-format tiles require a perfectly flat floor, which often mandates extensive self-leveling compound applications. Upgrading to epoxy grout for better stain resistance in a busy kitchen also adds to the labor and material line items. Working in a tight Commercial Kitchen or a space with limited access requires more time to move materials and equipment safely.
How to Control Your Kitchen Tile Budget
You have several practical ways to control the final cost of your project. The most effective method is selecting a standard tile size and a simple layout. A straight grid or standard offset pattern minimizes cuts, reduces waste, and speeds up the installation process. Choosing a standard ceramic or porcelain tile instead of natural stone lowers both your material purchase price and the labor required to cut and seal it. You can also control costs by finalizing your design decisions before work begins. Mid-project changes, such as altering the grout color or shifting the layout direction, force us to redo completed work and expand the budget. Clearing the kitchen completely—removing appliances, furniture, and personal items—saves us time on site, allowing the crew to focus strictly on substrate prep and tile setting.
The Risks of Accepting the Lowest Bid

Accepting the lowest bid often leads to expensive repairs down the road. Cheap quotes frequently omit critical substrate preparation. If a contractor skips installing a proper uncoupling membrane or fails to level the floor, your new tile is highly likely to crack as the house settles. Low bids also tend to ignore proper layout planning. This results in awkward, sliver-thin tile cuts along your cabinets or crooked grout lines that catch the eye every time you walk into the room. Budget contractors may use inferior thin-set mortar or standard grout that stains easily in a high-traffic kitchen environment. Exceptionally low estimates often exclude demolition and debris disposal, leaving you with a surprise bill at the end of the project. A detailed, professional quote spells out every step of the prep and installation so you know exactly what you are paying for.
Preparing for Your Custom Estimate
Online calculators cannot account for the unique conditions of your home. A custom quote is required because the final price is set only after an on-site inspection and a mutually approved work plan. Before you call for an estimate, measure the rough square footage of your kitchen and take clear photos of the current floor. Note any areas that feel bouncy or uneven when you walk on them. When Oleksiy arrives, he will check the subfloor stability, assess the transitions to adjacent rooms, and discuss your tile preferences. To get the most accurate number, have your desired tile size and material in mind, or Learn more about this service to understand your options. We will review the necessary demolition, prep work, and layout details together. Once we understand the full scope, we provide a firm, written estimate so you can make an informed decision.
Common Questions About Kitchen Tile Pricing
How much does it cost to lay 1000 sq ft of tile?
Pricing for a 1000-square-foot installation depends heavily on your chosen tile material, pattern complexity, and the required wall or floor prep. We assess the substrate condition, the number of corners, and the trim details before providing a firm quote. Large open spaces require different leveling techniques than tight layouts.
How much do you charge to tile a normal kitchen floor in 12×12?
The charge for installing 12×12 tile in a standard kitchen is determined by the specific surface preparation needed and your layout planning. A basic grid pattern on a flat subfloor takes less time than installing over damaged wood that needs new backer board. We evaluate these factors on-site.
How long does Kitchen Tile Services take?
A typical kitchen tile project takes several days to complete, driven by the necessary prep, setting, and curing times. Removing old flooring and leveling the substrate often takes a full day before any tile is laid. Grout application and final curing add another day to the total timeline.
How do I get an estimate?
You can secure a project estimate by contacting us to schedule an on-site consultation at your home. We will visit your property to inspect the current floor, discuss your material selection, and measure the space. Following this visit, we provide a detailed written plan covering all prep and installation steps.
Plan Your Kitchen Tile Project
Payment and Project Milestones
Craftsman Tile and Stone focuses on delivering custom tile work with straightforward payment terms. We do not offer in-house financing plans or credit programs. Payment schedules are tied directly to project milestones, which we outline clearly in your approved work plan. Typically, this involves an initial deposit to secure your spot on the schedule and cover initial setting materials, with the balance due upon project completion. We recommend speaking with your bank or credit union if you need to finance a larger kitchen renovation.
How Timelines Affect Your Quote
The speed of your installation directly impacts the overall labor cost. Rushing a tile job often requires larger crews or after-hours work, which increases the final estimate. Proper tile installation requires mandatory waiting periods. Thin-set mortar must cure before we can apply grout, and the grout needs time to set before you can walk on the floor. Attempting to compress this timeline compromises the integrity of the substrate and the finish. We build a realistic, day-by-day schedule into your Kitchen Tile Services quote. By allowing the proper time for demolition, surface preparation, layout, and curing, we ensure the floor remains stable and level for decades. Planning your project with a flexible timeline helps keep labor costs predictable.