
Understanding Floor Parquet and Wood-Look Tile Options
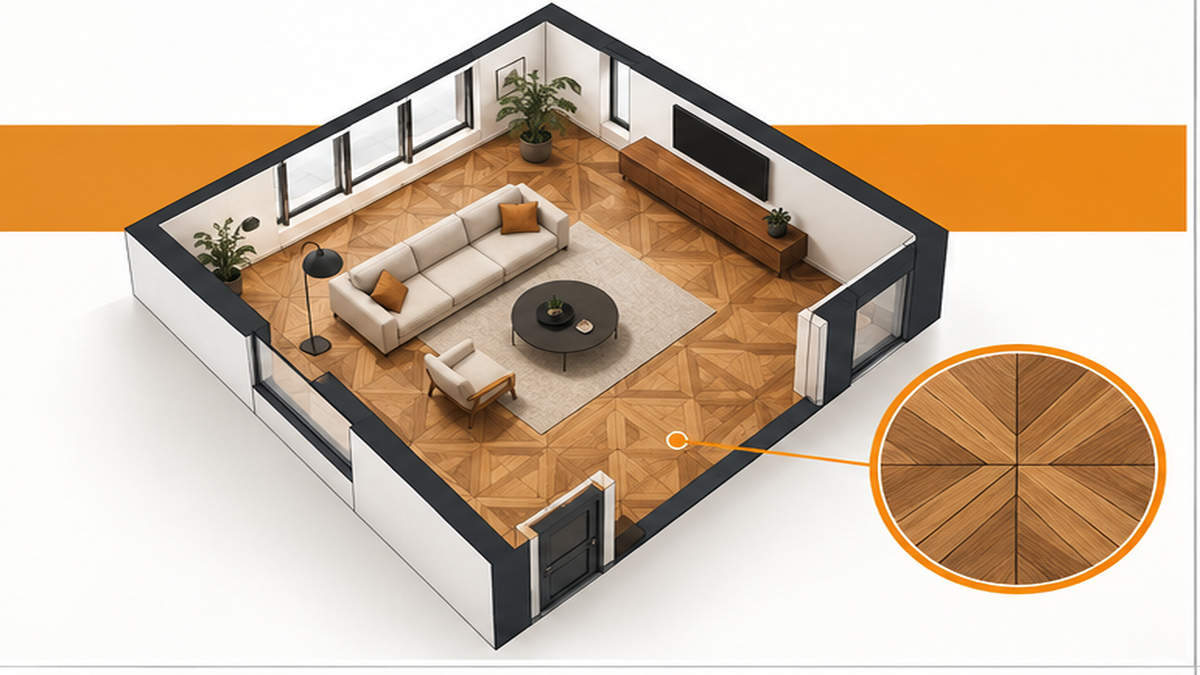
Floor parquet refers to a geometric mosaic of wood pieces used for decorative effect, though many Franklin homeowners now achieve this classic look using durable wood-look tile. Craftsman Tile and Stone installs custom floor tile patterns for homeowners in Franklin, TN, and Williamson County. Whether you prefer traditional timber or moisture-resistant large-format floor tile laid in a herringbone or chevron pattern, proper subfloor preparation dictates the final result. We handle the entire process from substrate leveling to final grout. This guide explains material options, layout planning, and what to expect during a professional installation.
Material Choices for Geometric Floor Patterns
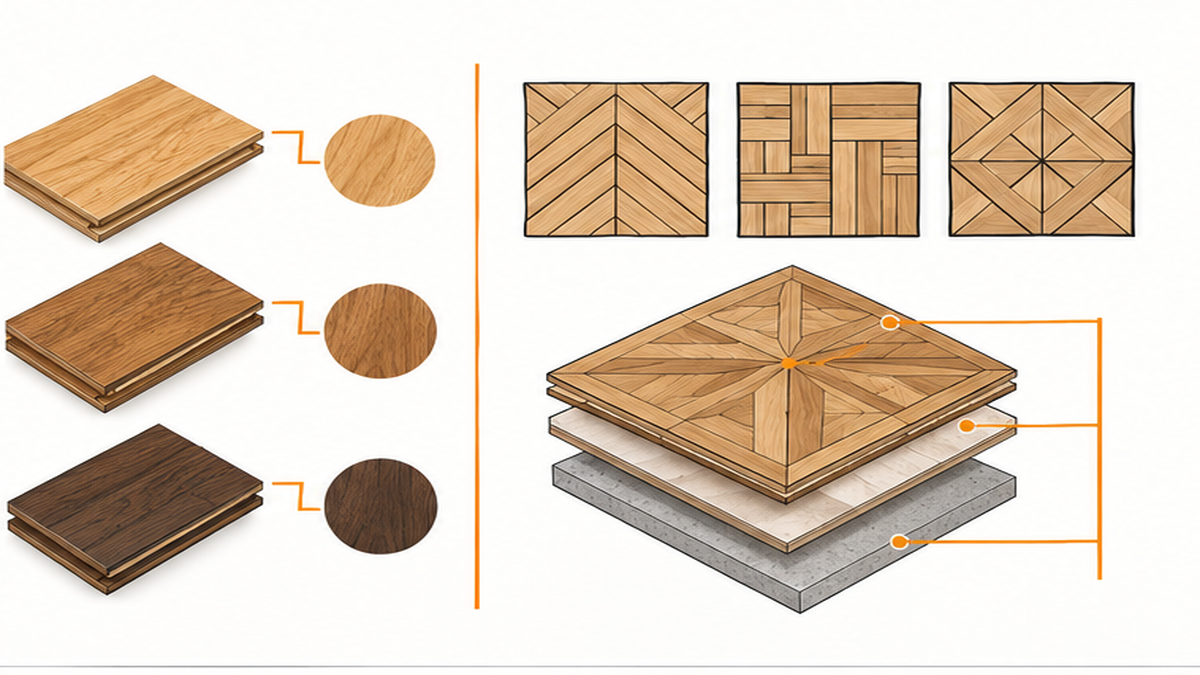
Traditional parquet flooring consists of small wood slats arranged in repeating angular patterns. While genuine wood offers historic appeal, it requires strict climate control and regular sealing to prevent warping. Because of these maintenance demands, many local homeowners opt for wood-look porcelain or ceramic tile. These modern materials replicate the grain and warmth of natural timber while providing superior resistance to water and heavy foot traffic.
When planning a new floor tile and installation project, selecting the correct material dictates the longevity of your surface. Porcelain tile cut into planks can be arranged in classic parquet patterns like basketweave or chevron. This approach delivers the visual depth of a historic floor without the vulnerability to moisture. Oleksiy Kolesnyk personally assesses your space to determine which material suits your daily routine. We check the existing subfloor for deflection and moisture issues before any new surface goes down. A rigid, flat substrate prevents grout cracking and keeps the geometric lines perfectly symmetrical. We apply premium thin-set mortar and utilize proper backerboard to ensure a solid foundation.
Key Considerations for Your Floor Layout
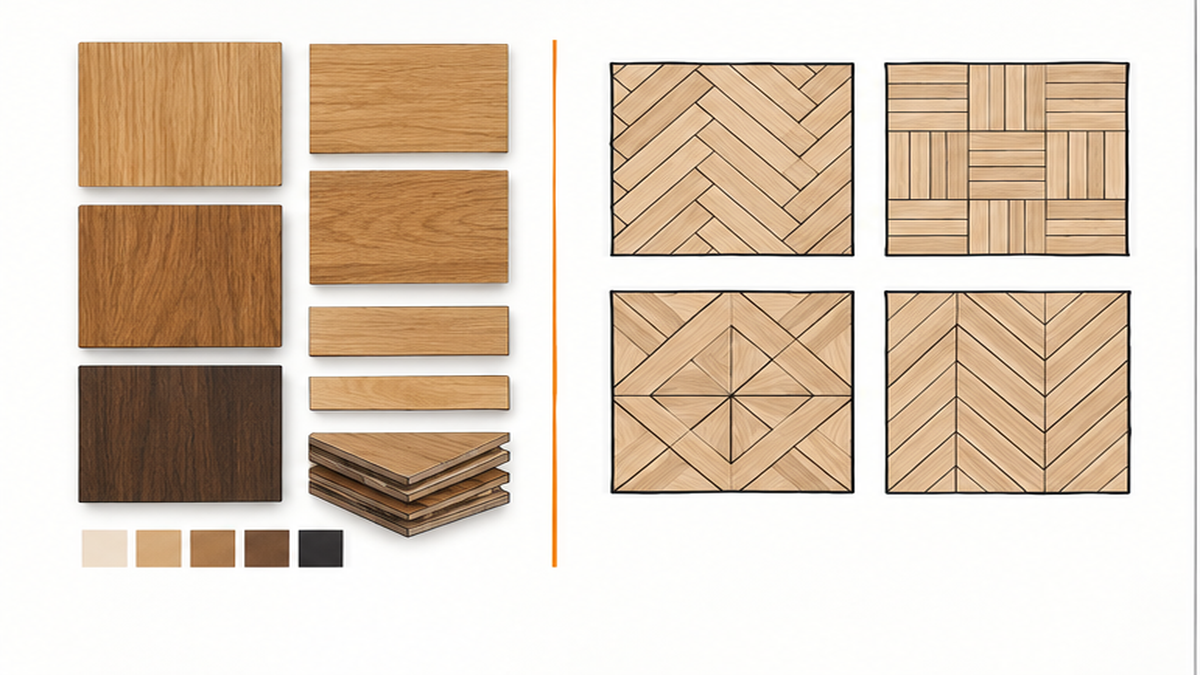
Selecting a geometric floor pattern involves several practical tradeoffs. First, consider the room dimensions. Intricate basketweave or small-scale herringbone layouts can make a tight space feel busy, while larger planks laid in a chevron pattern often visually expand a room. If you are updating a wet area, a bathroom floor tile installation requires specific slip-resistant finishes and proper moisture protection. Wood-look porcelain works exceptionally well here, provided the grout joints are sealed correctly.
Next, evaluate your subfloor condition. Complex geometric layouts demand a perfectly flat surface to avoid lippage, where one edge sits higher than its neighbor. Here are the primary factors we evaluate before starting:
- Subfloor stability: Checking for deflection to ensure the floor will not bounce and crack the grout.
- Material thickness: Planning transition strips where the new tile meets existing carpet or hardwood.
- Layout orientation: Aligning the pattern with the longest wall or primary focal point in the room.
Finally, factor in the installation timeline. Intricate parquet designs require precise measuring, frequent cutting, and careful alignment. This level of artisan craftsmanship takes longer than laying standard square tiles. We outline the exact schedule in your written estimate so you know exactly how many days the room will be out of service.
Pitfalls to Avoid During Installation
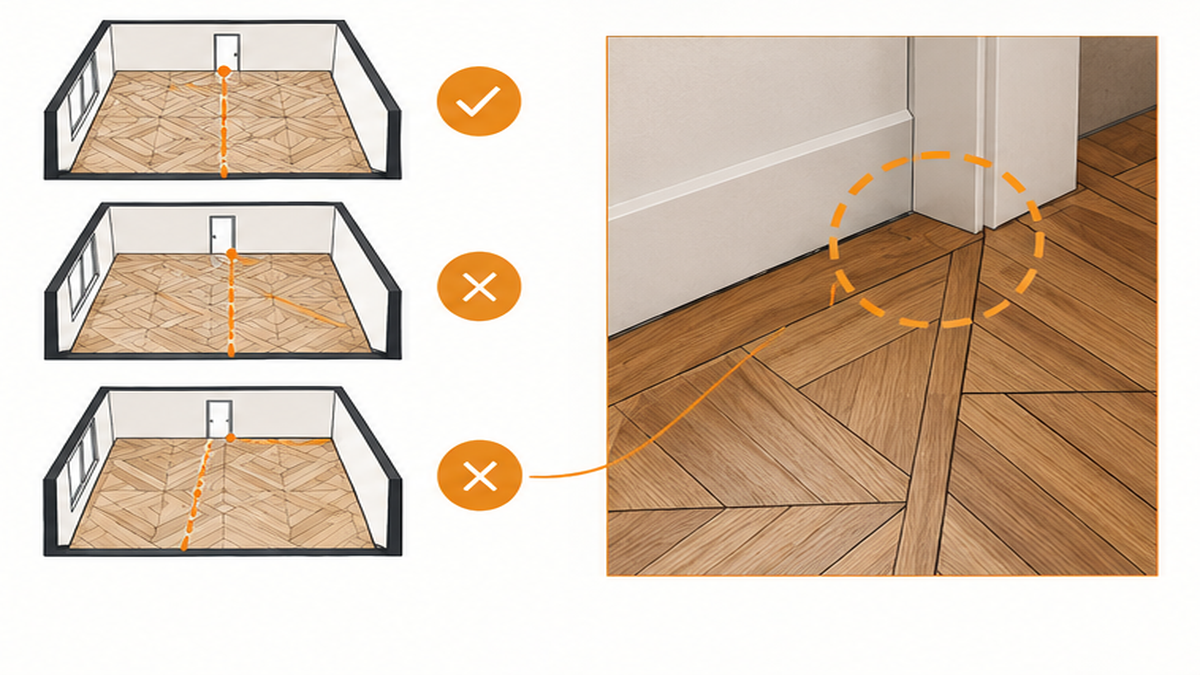
One frequent error in geometric floor projects is ignoring the layout symmetry. Starting a complex pattern from the wrong wall leaves awkward, narrow slivers of tile at the room's edges. We prevent this by snapping chalk lines from the true center of the room and dry-fitting the pattern before mixing any thin-set mortar. Another major pitfall is skipping the substrate flatness check. Parquet and herringbone layouts highlight every dip or bump in the floor. Installing directly over an uneven surface results in crooked grout lines and toe-stubbing edges.
Homeowners frequently overlook how lighting interacts with the finished surface. Coordinating light fixtures in an open floor plan can cast long shadows across the floor, which instantly highlights lippage if the tiles are not completely flush. Lastly, choosing the wrong grout color can ruin the intended effect. A highly contrasting grout makes the geometric pattern pop, but it also amplifies any minor layout inconsistencies. A matching grout color creates a subtle, cohesive look that mimics traditional joined wood. We provide grout samples during the consultation to help you finalize the design.
When to Hire a Tile Contractor
Laying a geometric floor pattern requires advanced planning and precise execution. You should contact a professional tile contractor if your existing floor feels soft, bouncy, or uneven. Deflection in the subfloor will cause rigid tile and grout to crack under pressure. We assess the joist spacing and subfloor thickness to confirm it meets industry standards for tile.
Another clear signal to hire a pro is the presence of complex room features. Navigating a herringbone pattern around kitchen islands, floor registers, or angled walls requires specialized wet saws and significant experience. If you are researching the budget, reviewing a cost for tile floor installation guide helps clarify how material choices and subfloor prep influence the final total. We do not publish exact online prices because every home requires a specific work plan. Instead, Oleksiy visits your property, measures the square footage, checks the structural integrity, and provides a detailed written estimate.
Related Services and Guides
Ready to Discuss Your Floor Project?
Frequently Asked Questions
How is Tile Floor Installation priced in my area?
What color wood never goes out of style?
How long does Tile Floor Installation take?
How do I get an estimate?
Maintaining Your Geometric Floor
Maintaining a geometric floor pattern depends entirely on the material installed. If you choose wood-look porcelain or ceramic tile, upkeep remains incredibly straightforward. Sweep or vacuum regularly to remove abrasive dirt that can dull the finish over time. Mop the surface using warm water and a pH-neutral tile cleaner. Avoid harsh acidic chemicals or bleach, as these can degrade the grout joints and weaken the installation.
If your new floor extends into a wet area, similar to re bath walk in showers, proper ventilation is critical to prevent mildew buildup along the grout lines. We recommend sealing cement-based grout shortly after installation to create a barrier against spills and stains. With proper sweeping and occasional sealing, your custom floor will retain its precise alignment and beautiful finish for decades.