
Floor Tile Installation How To
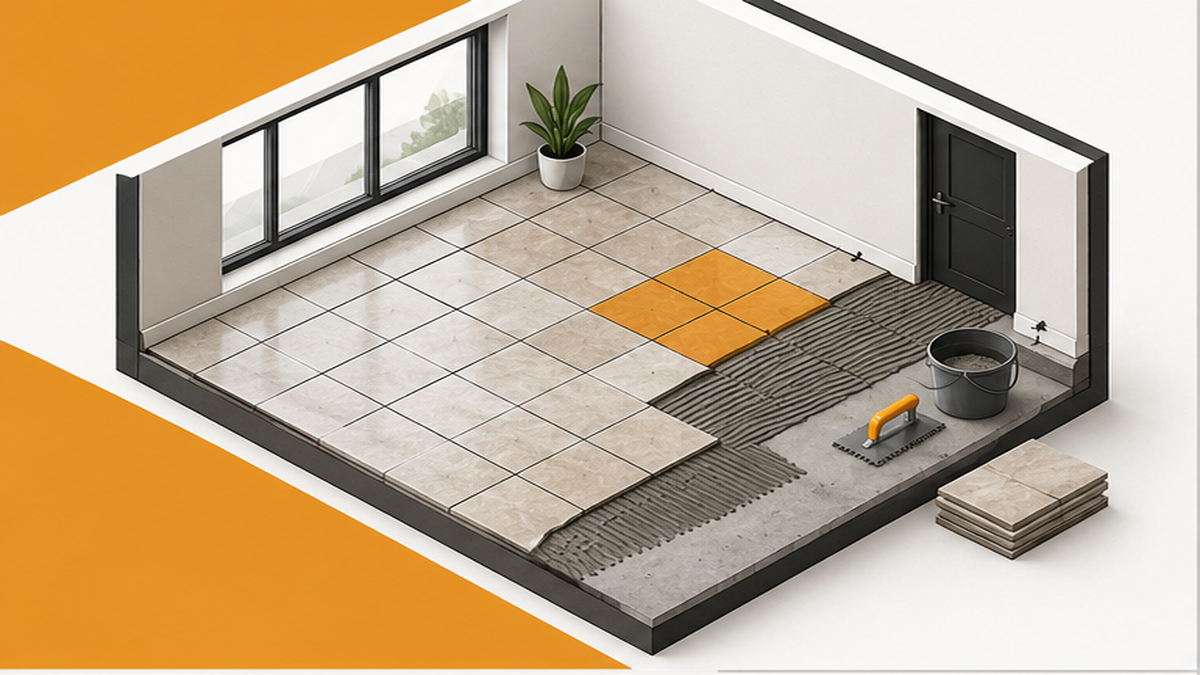
Preparing for floor tile installation requires assessing the subfloor, planning the layout, and selecting the right materials before any thin-set is mixed. In Franklin, TN, a successful project starts with a flat, stable surface to prevent cracked grout and uneven edges later. If you are comparing material costs, remember that large-format tile and complex patterns will increase the total investment. Craftsman Tile and Stone handles custom bathroom remodeling and tile work throughout Williamson County. We focus on proper subfloor prep and precise alignment so your new floor lasts. Whether you are curious about the steps involved or need a professional assessment, this guide covers what to expect.
The Standard Installation Process
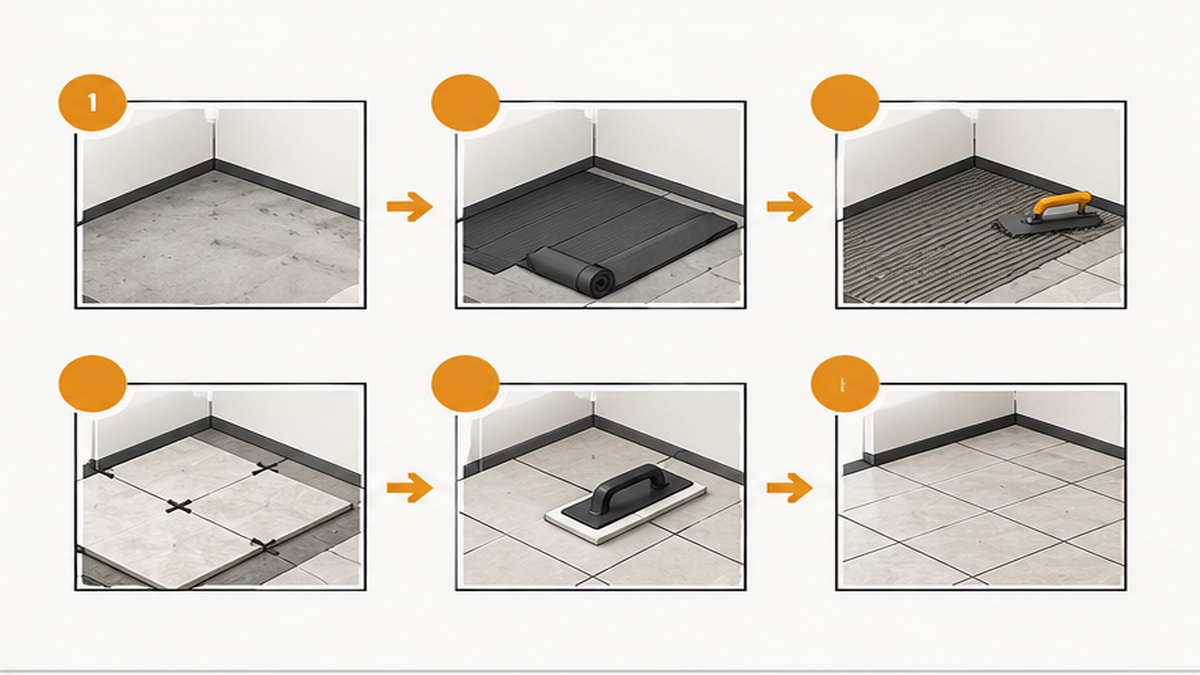
A proper installation relies on a strict sequence of events. Skipping steps often leads to loose tiles or moisture damage down the road. Here is a look at the standard process we follow for homes in Brentwood and Franklin:
- Subfloor preparation: We remove the old flooring and inspect the wood or concrete underneath. Any flex or unevenness must be resolved with backerboard or leveling compound.
- Layout planning: We measure the room to find the center point. This ensures symmetrical cuts along the walls and avoids narrow, awkward tile slivers at the edges.
- Setting the tile: Using the correct thin-set mortar for your specific tile choice, we lay each piece carefully. We check for lippage—uneven heights between adjacent tiles—as we go.
- Grouting and finishing: Once the mortar cures, we apply grout and clean the surface. Transition strips are installed where the tile meets hardwood or carpet.
If you want to understand the sequence for wall applications, reviewing the standard wall tile installation steps can provide helpful context for your overall remodel.
Key Decisions Before Work Begins
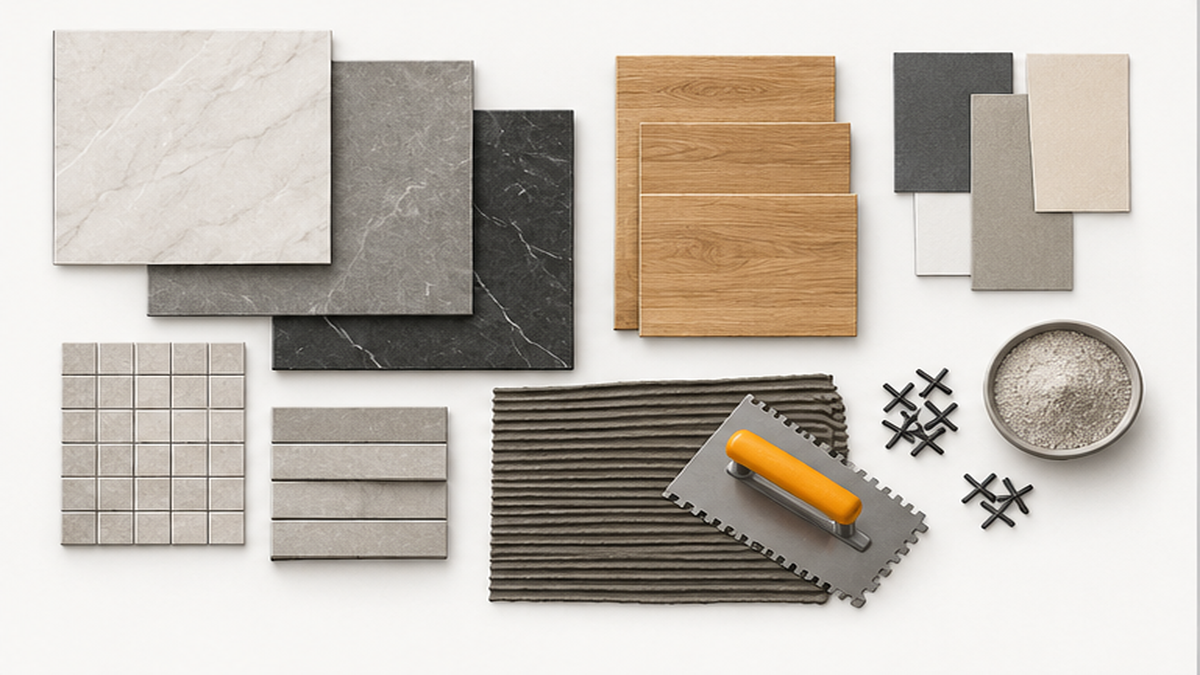
Before work begins, you will need to make a few key decisions that impact the timeline and final look of your room. Material selection is usually the first step. Large-format floor tile is popular in modern Williamson County homes, but it requires a perfectly flat subfloor to install correctly.
Consider these factors when planning your project:
| Decision | Impact on Project |
|---|---|
| Tile Material | Porcelain is dense and water-resistant, making it ideal for bathrooms. Natural stone requires sealing and more maintenance. |
| Grout Selection | Darker grout hides dirt in high-traffic areas, while lighter grout offers a crisp look but needs more frequent cleaning. |
| Layout Pattern | A standard grid is straightforward. Herringbone or staggered brick patterns require more cuts, increasing both material waste and labor time. |
| Transition Planning | You need to decide how the new floor will meet existing surfaces. Flush transitions require careful height calculations before the backerboard goes down. |
If your project involves an open concept space, you might also be thinking about coordinating light fixtures to match your new floor's aesthetic.
Avoiding Common Installation Errors
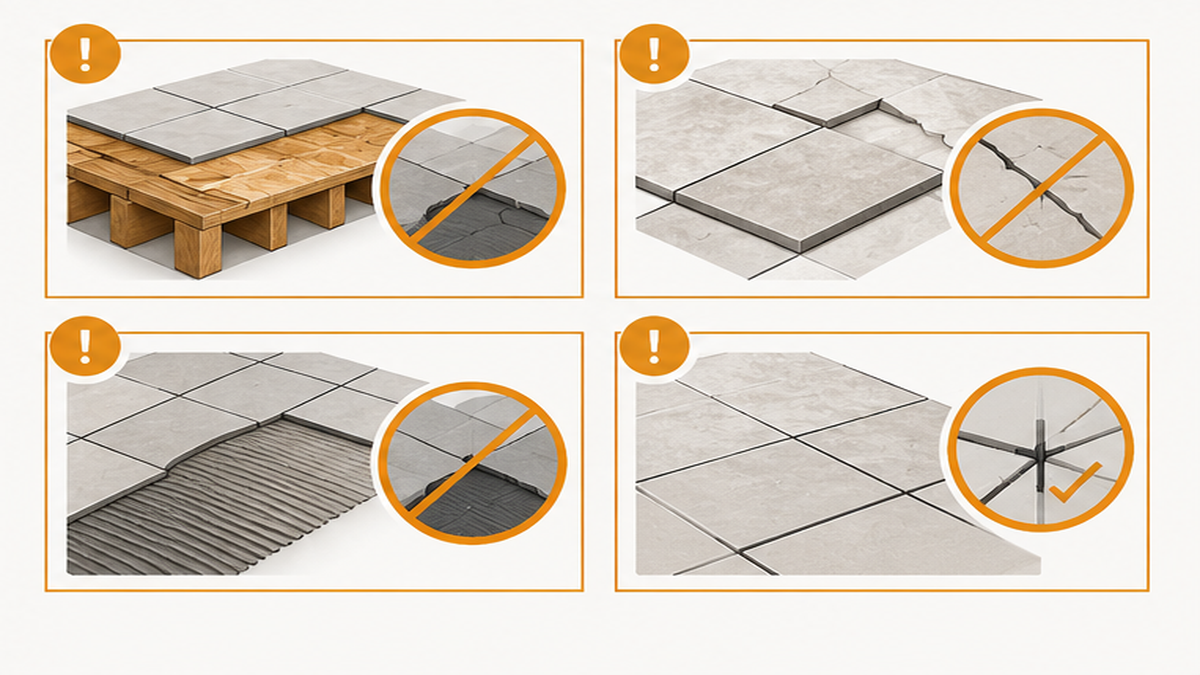
Many flooring failures happen because of skipped steps during the preparation phase. One of the most frequent errors is installing tile directly over a bouncy wood subfloor. If the floor deflects when you walk on it, the rigid thin-set and grout will eventually crack. We always verify subfloor stability before mixing any mortar.
Another common issue is ignoring layout planning. Starting a row from one wall without measuring the whole room often results in a tiny, slanted sliver of tile on the opposite side. We strike chalk lines from the center of the room to ensure the layout looks balanced.
Finally, using the wrong trowel notch size for the tile can lead to poor adhesion. Large-format tiles need a larger trowel notch to achieve the required mortar coverage. If you are replacing an older floor parquet with heavy stone or porcelain, the adhesive requirements change entirely. Proper coverage prevents hollow spots that can cause tiles to shatter under heavy impact.
When to Hire a Tile Contractor
While some homeowners handle small backsplashes themselves, floor installations often require professional tools and experience. You should call a contractor if your subfloor has visible water damage, rot, or significant unevenness. Fixing structural issues is not a simple weekend project, and setting tile over a compromised base is a waste of money.
Large-format floor tile is another strong reason to hire an expert. These heavy tiles are difficult to cut cleanly and require specialized leveling systems to prevent toe-stubbing edges. If your project involves a wet area, such as a custom bathroom remodel, professional waterproofing is essential to protect your home's framing.
Oleksiy Kolesnyk personally handles every project for Craftsman Tile and Stone. With over 20 years of tile and stone experience, we know how to navigate complex layouts and tricky subfloors. If you are planning a major update, exploring the bathroom floor tile installation process with a professional will save you time and frustration.
Related Resources
Ready to Plan Your Tile Floor?
Frequently Asked Questions
How is Tile Floor Installation priced in my area?
how to prepare concrete floor for tile installation?
What are common floor tile installation mistakes?
How do I get an estimate?
Maintaining Your New Tile Floor
Once your new tile floor is installed, straightforward maintenance will keep it looking pristine for decades. Sweep or vacuum regularly to remove abrasive dirt and sand that can dull the finish of the tile or wear down the grout joints. When mopping, use a pH-neutral cleaner designed specifically for tile and stone. Harsh chemicals, bleach, or acidic cleaners can degrade the grout and strip the protective sealant from natural stone.
If you have light-colored grout, wiping up spills immediately will prevent permanent stains. We recommend checking your grout lines annually. If water stops beading on the surface of sealed grout or natural stone, it is time to reapply a penetrating sealer. Keeping up with this simple routine protects your investment and maintains the clean, symmetrical look of your custom floor.