
Bathroom Exchange
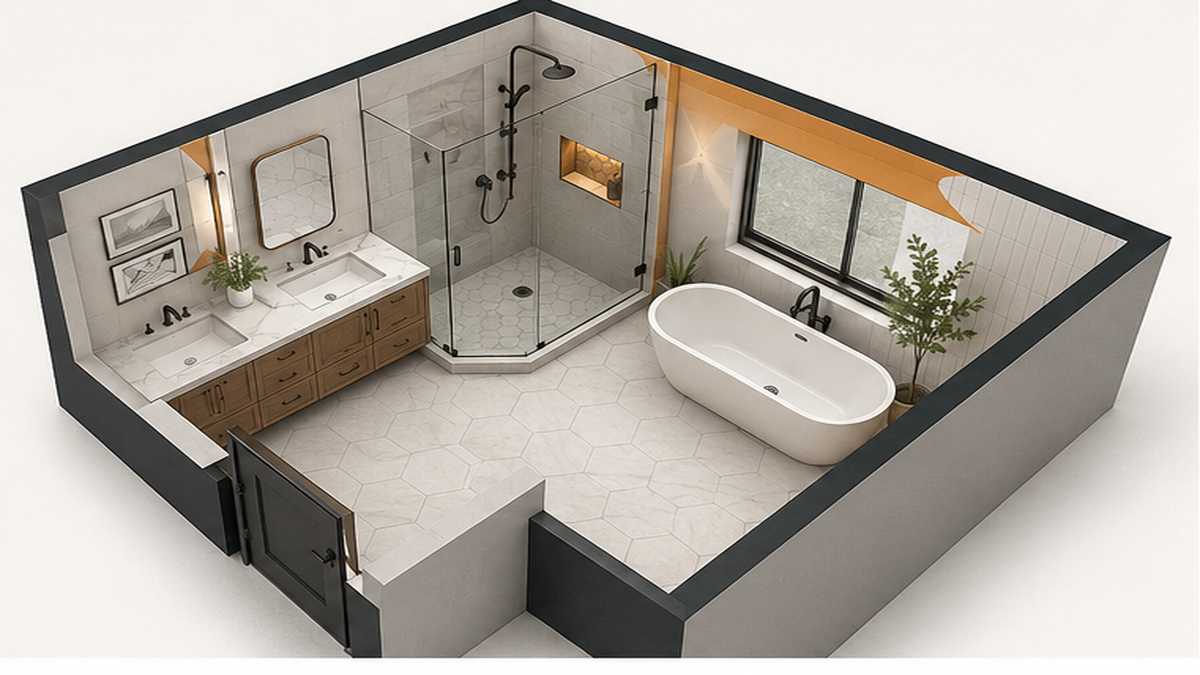
A bathroom exchange or remodel involves removing outdated materials, repairing the underlying substrate, installing proper waterproofing, and setting new tile. In Franklin, TN, most projects focus on replacing failing tub surrounds or worn floors with custom tile work. Oleksiy Kolesnyk personally handles these updates, ensuring the new layout meets strict industry standards for moisture control. Before any demolition begins, a clear plan is established to address moisture protection and material selection. This deliberate process updates the room while addressing hidden issues like squishy shower floors, cracked grout, or uneven surfaces. We focus on careful execution from the first day of demolition to the final grout line, ensuring the underlying structure is as solid as the finished surface.
What the Installation Process Involves
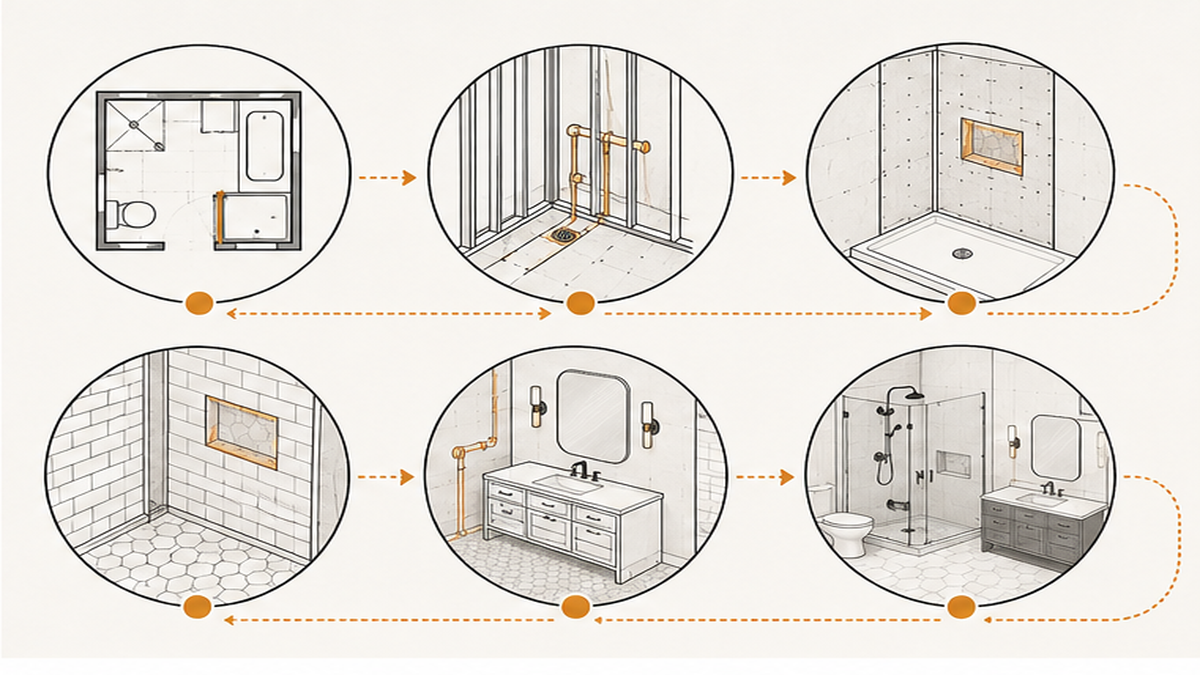
Replacing a bathroom requires a methodical approach to demolition and surface prep. Once the old fixtures and surfaces are removed, the focus shifts entirely to the substrate. A solid foundation is required for any tile installation to prevent future lippage or cracked grout joints. We check for a bouncy floor under the tile and address any structural rot discovered behind the walls. After the framing and subfloor are verified, custom shower pans and waterproofing membranes are installed.
Moisture protection is the most critical step in wet-area tile work. Thin-set mortar is then applied to secure the backerboard and tile. Every tile is set with purpose, focusing on symmetry and level alignment. A typical Bathroom Remodel requires careful layout planning so the final grout lines align correctly around niches, benches, and vanity surrounds. We keep the workspace clean and organized throughout the project, minimizing dust in your home and respecting your daily routine.
Key Decisions for Your Remodel
Planning a bathroom update requires several practical choices before work begins. First, decide whether you need a full tear-out or a targeted update, such as a shower and bath conversion. Repair versus replacement criteria often depend on the condition of the existing waterproofing. If you have a leaking shower or mold issues, a full replacement of the wet area is usually necessary.
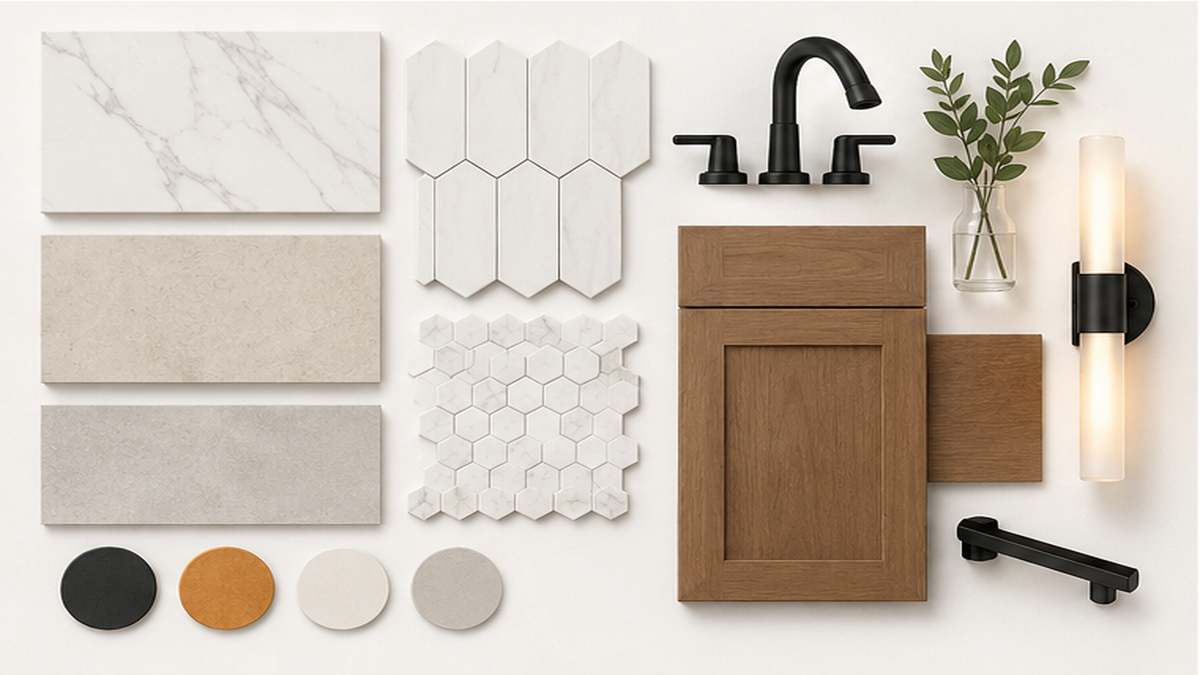
Material selection is the next major factor. The tile shape, size, and density dictate the layout planning and the specific thin-set mortar required. Larger tiles require a flatter substrate to avoid uneven edges. You also need to consider how the new design integrates with the rest of the room. Reviewing Bathroom Design options early helps finalize the scope. Finally, consider your timeline. Custom tile showers require adequate curing time for the mortar and grout before the space can be used. We provide an estimate preparation checklist to help you gather room dimensions and photos, which streamlines the initial consultation and ensures we account for all project variables.
Common Pitfalls to Avoid
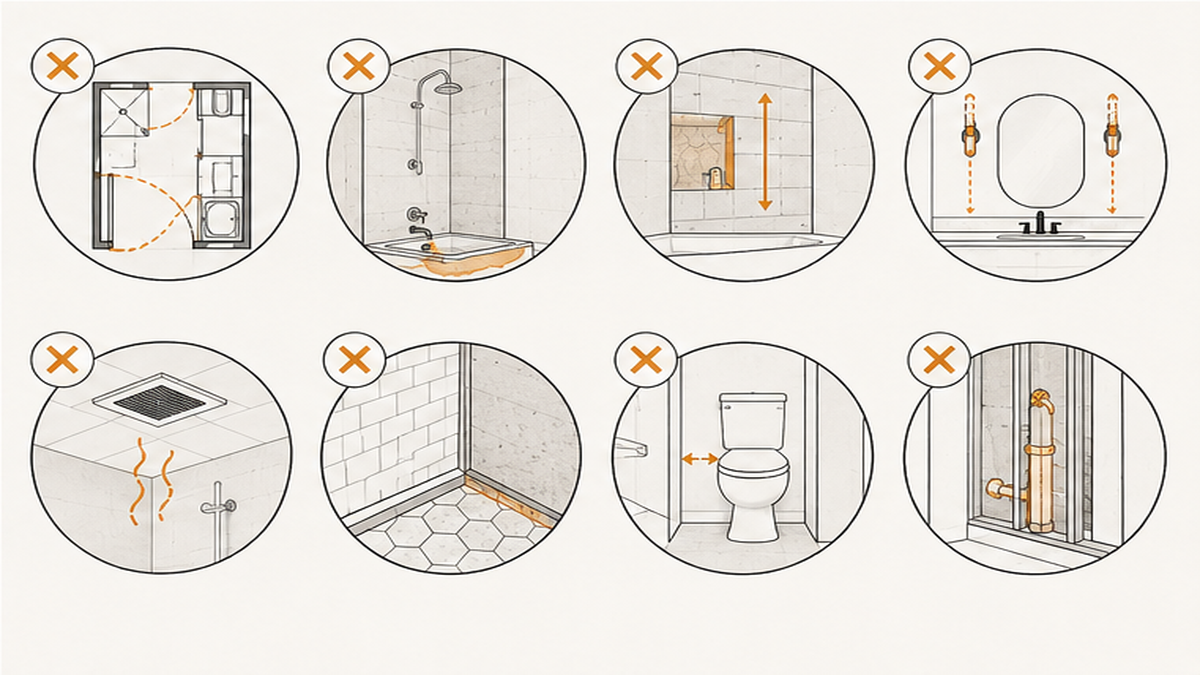
Many remodeling issues stem from rushed preparation. Skipping a thorough substrate inspection is a frequent error. If tile is laid over a flexible or uneven subfloor, the grout will crack and the tiles may loosen over time. Another major issue is inadequate moisture protection. Relying on water-resistant drywall instead of proper cement backerboard and dedicated waterproofing membranes in wet areas often leads to hidden structural rot.
Homeowners sometimes purchase materials without consulting their installer. Not all tile is rated for shower floors, and certain materials require specific sealing procedures. Failing to account for layout complexity can also disrupt the project. Complex patterns, custom niches, and multiple transitions require precise planning and often impact the overall Bathroom Remodeling budget. Finally, proceeding without a clear, written estimate leads to misaligned expectations. A proper quote should outline demolition, disposal, substrate prep, and the exact materials supplied, preventing mid-project scope changes.
When to Call a Tile Craftsman
While some cosmetic updates are manageable for a homeowner, wet-area tile installation requires specific technical knowledge. You should call a professional when dealing with a leaking shower, mold, or a squishy shower floor. These signs indicate that the underlying waterproofing has failed and structural repairs are likely needed.
Custom shower pans require precise sloping to ensure proper drainage. If the slope is incorrect, water will pool, leading to premature failure of the grout and mortar. Complex Bathroom And Remodeling projects involving large-format tile, intricate mosaics, or curbless shower entries also demand an experienced hand. Oleksiy brings over 20 years of tile and stone experience to these exact situations. A professional assessment identifies hidden issues early, ensuring the new installation is built on a stable, properly sealed foundation. If you are unsure about the condition of your subfloor or the correct waterproofing method, requesting an on-site inspection is the safest next step to protect your home.
Related Resources
Ready to Discuss Your Project?
Frequently Asked Questions
What does a bathroom remodel look like?
A bathroom remodel typically includes demolition, substrate repair, waterproofing, tile installation, and grout curing. We remove the old materials down to the studs to ensure the framing is solid before installing cement backerboard. Once the wet-area tile and vanity surrounds are set, the space is left to cure properly before use.
How long does a bathroom tile remodel take?
A standard tile remodel takes several days to a few weeks depending on prep, layout, setting, grout, and curing times. Custom shower pans and complex material selections add to the timeline. We provide a clear schedule during the estimate so you know exactly when your bathroom will be out of service.
How do I request a bathroom remodel estimate?
You can request a bathroom remodel estimate by contacting us to schedule an initial consultation and scope review. We will ask for basic room dimensions and photos of your current space. After an on-site inspection of the substrate and layout, Oleksiy provides a detailed written quote.
Maintaining Your New Tile
Proper care keeps your custom tile work looking sharp for years. Use a neutral pH cleaner for routine washing; harsh acidic chemicals can degrade the grout joint and damage natural stone over time. Wipe down shower walls with a squeegee after use to reduce hard water buildup and soap scum, which makes weekly cleaning much easier.
Inspect the caulk lines at changes of plane, such as where the floor meets the wall or around the tub fixture, every six months. If the caulk begins to peel or crack, remove and replace it promptly to maintain the moisture barrier. Ensure your bathroom has adequate ventilation to keep humidity levels down, which helps prevent mildew growth on the grout. Simple, consistent maintenance preserves the integrity of the installation.