
Understanding Craft Kitchen Tile Installations

A craft kitchen project in Franklin, TN, focuses on artisan tile installation to upgrade your cooking space with custom backsplashes and durable flooring. Homeowners in Williamson County rely on precise tile work to protect walls from moisture while adding a distinct visual focal point. Oleksiy Kolesnyk personally handles these projects, ensuring layout planning and substrate prep meet strict standards before any thin-set mortar is mixed. Whether updating a historic home or building new, proper surface preparation dictates the longevity of the installation. This guide explains the materials, timeline, pricing factors, and preparation steps needed for a custom kitchen tile installation that holds up to daily use.
The Importance of Substrate Prep and Layout
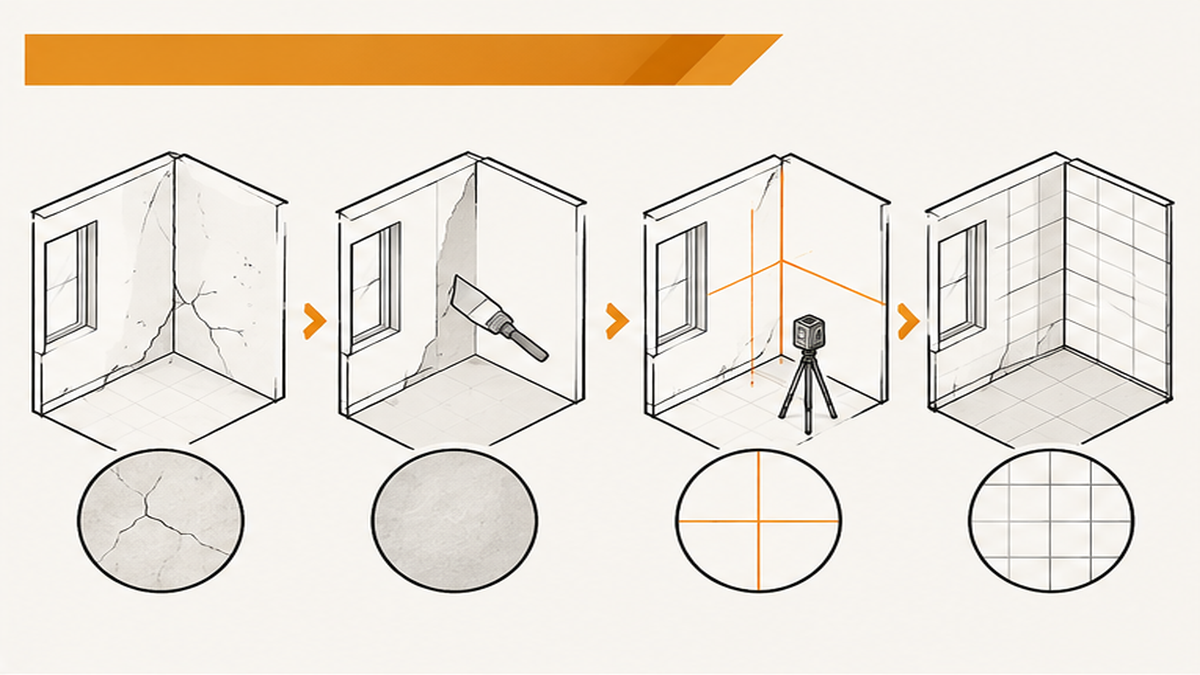
Creating a highly functional kitchen space requires more than just picking a tile color. The foundation of any lasting tile installation is thorough surface inspection and substrate prep. If the drywall or cement backer board behind your stove is uneven, the final backsplash will show lippage, where tile edges catch the light poorly. We check the wall flatness and plan the layout so grout lines align perfectly around electrical outlets, windows, and upper cabinets. Whether it is a residential space or a heavy-duty commercial kitchen, material selection plays a major role in how the space performs. Dense porcelain or glazed ceramic resists cooking splatters and cleans easily, while natural stone requires proper sealing to prevent permanent stains. We map out the backsplash and floor tile alignment to ensure the entire room feels cohesive and symmetrical. By addressing these structural details early, the installation proceeds smoothly. This careful approach results in a clean, detail-oriented finish that holds up to daily cooking and heavy foot traffic.
Key Decisions for Your Kitchen Tile Project
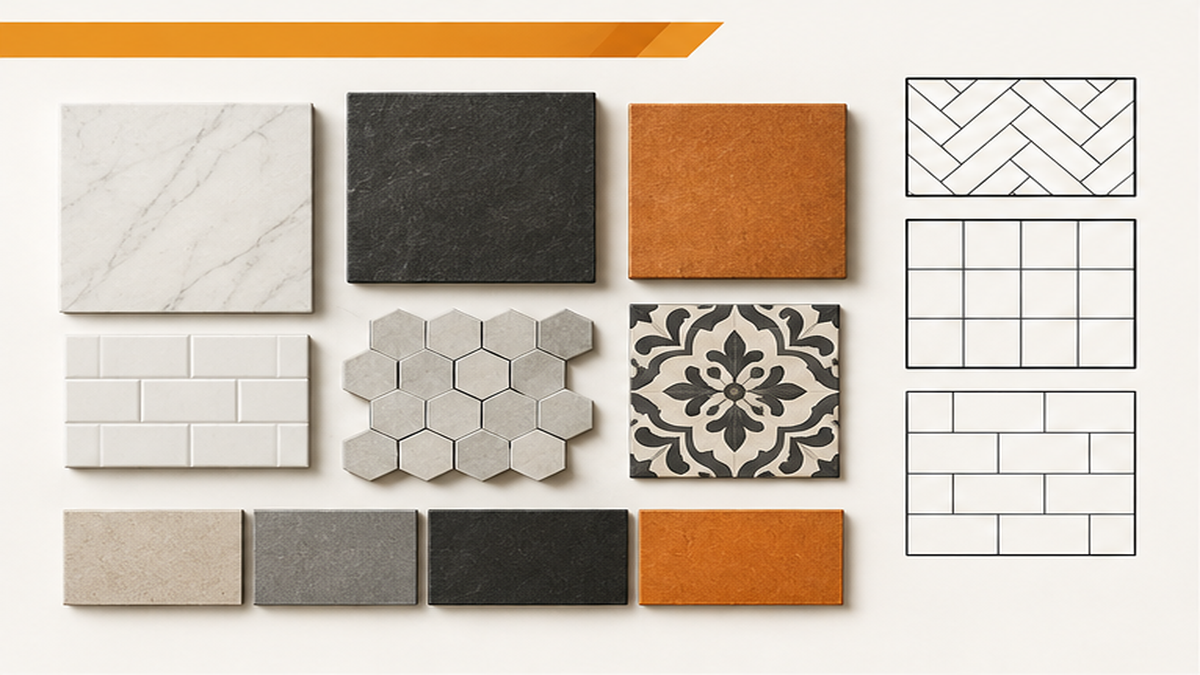
Before starting a kitchen tile project, you need to finalize a few key details that drive the scope and schedule. First, decide on the tile material and pattern complexity. A standard subway tile laid in a classic brick pattern installs faster than a herringbone layout or a mosaic with intricate border cuts. When selecting backsplash tiles for the kitchen, consider how the material interacts with cooking splatters. Next, consider the grout selection and finish. Darker epoxy grouts resist stains behind busy stoves, while lighter cement-based grouts may require more frequent sealing. You also need to determine the exact coverage area. Will the backsplash stop at the bottom of the upper cabinets, or extend to the ceiling around the range hood? Ceiling-height installations require more material and scaffolding, which impacts the timeline. If you are also updating the ground level, choosing the right kitchen tile for your floors ensures the entire room feels cohesive. Finally, review your timeline expectations. We coordinate with your schedule to ensure the kitchen is prepped and protected, minimizing downtime.
Common Kitchen Tile Mistakes to Avoid
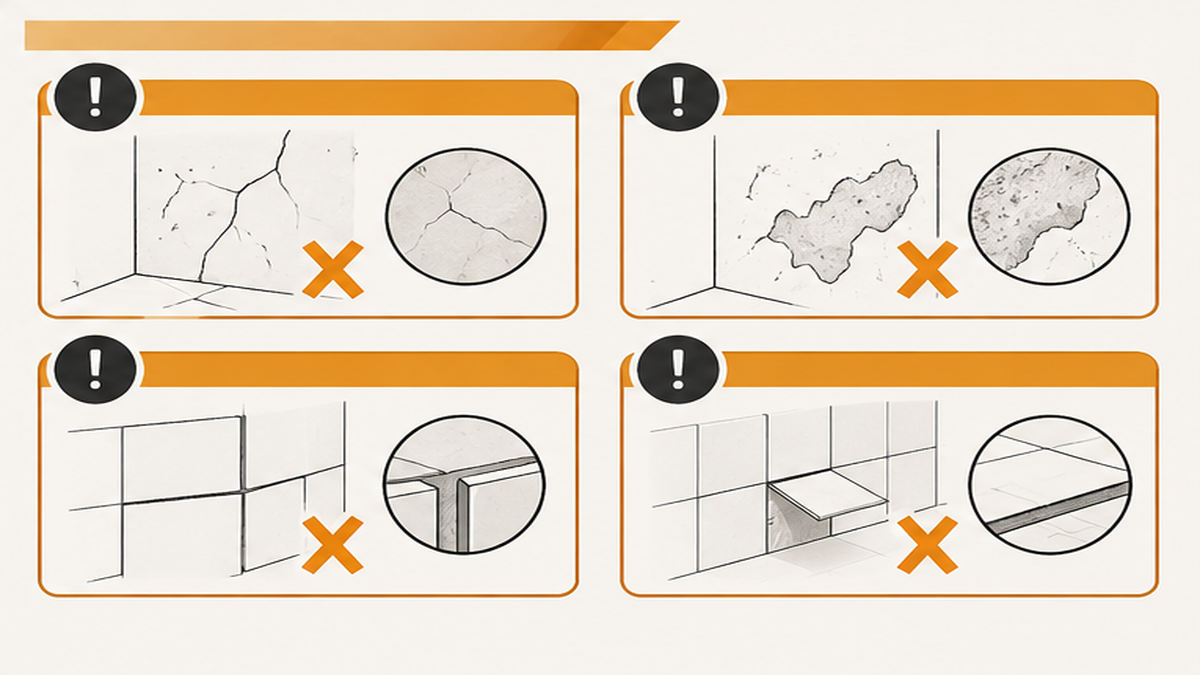
One of the most frequent errors in kitchen tile projects is ignoring the condition of the existing walls. Installing heavy tile over damaged, greasy, or painted drywall without proper surface prep often leads to loose tiles and cracked grout joints. Another common issue is poor layout planning around electrical outlets and window trim. If the installer does not dry-fit the tiles first, you might end up with awkward, sliver-thin cuts right next to highly visible areas like the kitchen sink. Homeowners also sometimes choose highly porous natural stone for the area directly behind the stove without committing to a strict sealing routine, leading to permanent grease stains. Finally, rushing the curing process is a critical mistake. Thin-set mortar needs adequate time to dry before grout is applied, and the grout itself must cure before the kitchen is put back into heavy use. Skipping these waiting periods compromises the strength of the installation.
When to Hire a Tile Professional
Setting a few replacement tiles might be manageable for a weekend project, but a full kitchen backsplash or custom floor requires professional precision. You should call a tile contractor when your design involves complex patterns, large-format tiles, or natural stone that requires specialized wet saws. If your walls are uneven or have suffered previous water damage, a professional must repair and level the substrate before any new materials are applied. Kitchens with multiple outlets, tight corners, and custom cabinetry demand exact measuring and cutting to ensure a symmetrical finish. If you want to understand the pricing and scope of our kitchen tile services, an on-site inspection is the first step to accurately gauge the required prep work. With over 20 years of tile and stone experience, Oleksiy Kolesnyk personally executes every project to ensure these strict layout standards are met, protecting your home from moisture damage and costly layout errors.
Related Tile Services
Request Your Kitchen Tile Estimate
Frequently Asked Questions About Kitchen Tile Services
How is Kitchen Tile Services priced in my area?
What should I know about Kitchen Tile Services?
How long does Kitchen Tile Services take?
How do I get an estimate?
Maintenance Tips for Kitchen Tile
Keeping your new kitchen tile looking pristine requires a simple but consistent cleaning routine. Wipe down the backsplash behind the stove immediately after cooking to prevent grease and acidic food splatters from sitting on the grout joints. Use a pH-neutral tile cleaner and a soft cloth or sponge; avoid harsh abrasive pads that can scratch glazed ceramics or degrade the grout over time. If you selected natural stone, you will need to reapply a penetrating sealer periodically to maintain its resistance to moisture and stains. These same maintenance rules apply if you have a vintage tub and bath setup with classic tile surrounds. Regularly inspect the caulking where the tile meets the countertops or sink, as this flexible joint can wear down over time due to temperature changes and movement. Replacing worn caulking promptly keeps water from seeping behind the cabinets or damaging the drywall, ensuring your artisan tile installation remains a durable focal point in your home for decades.