
Kitchen Bar Stools
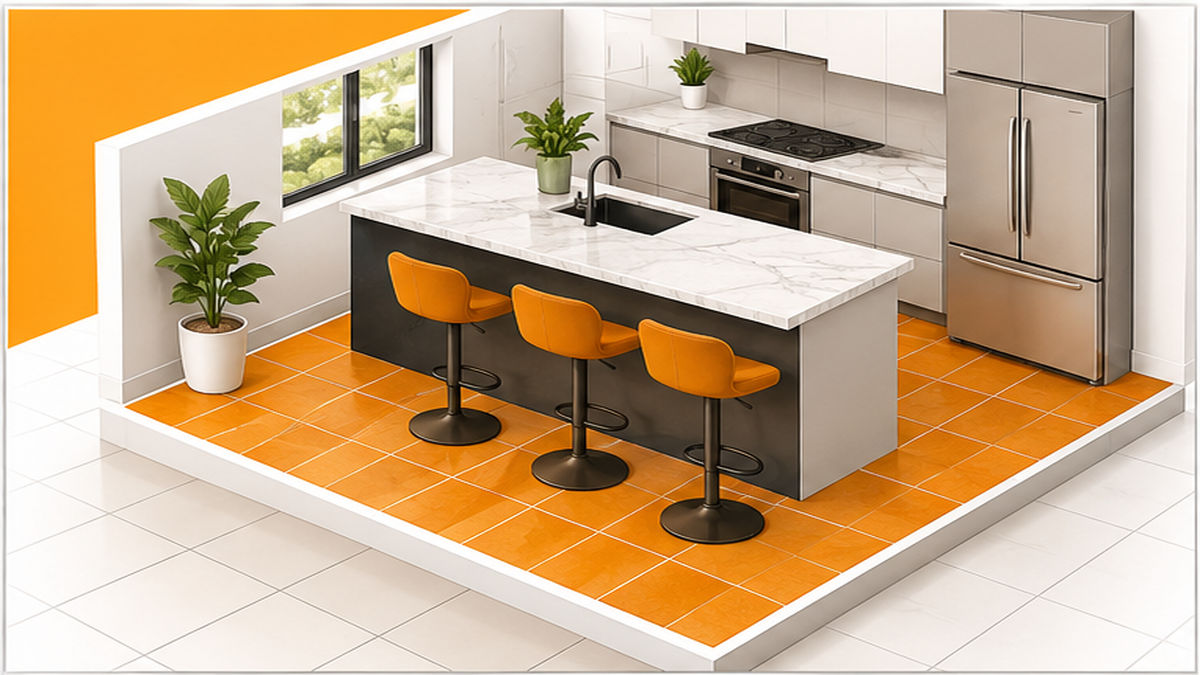
When planning a kitchen counter-height bar in Franklin, TN, the right tile protects the face of your island and the flooring beneath your kitchen bar stools from daily scuffs. Oleksiy Kolesnyk at Craftsman Tile and Stone handles custom tile work that integrates your seating area with the rest of your kitchen. Whether you are adding a decorative tile wall under the counter or upgrading the floor to withstand heavy chair movement, proper surface prep and layout planning are essential. This guide explains how to choose and plan tile for your kitchen bar seating, ensuring a durable and beautiful result that lasts for decades.
Practical Guidance for Kitchen Bar Tile
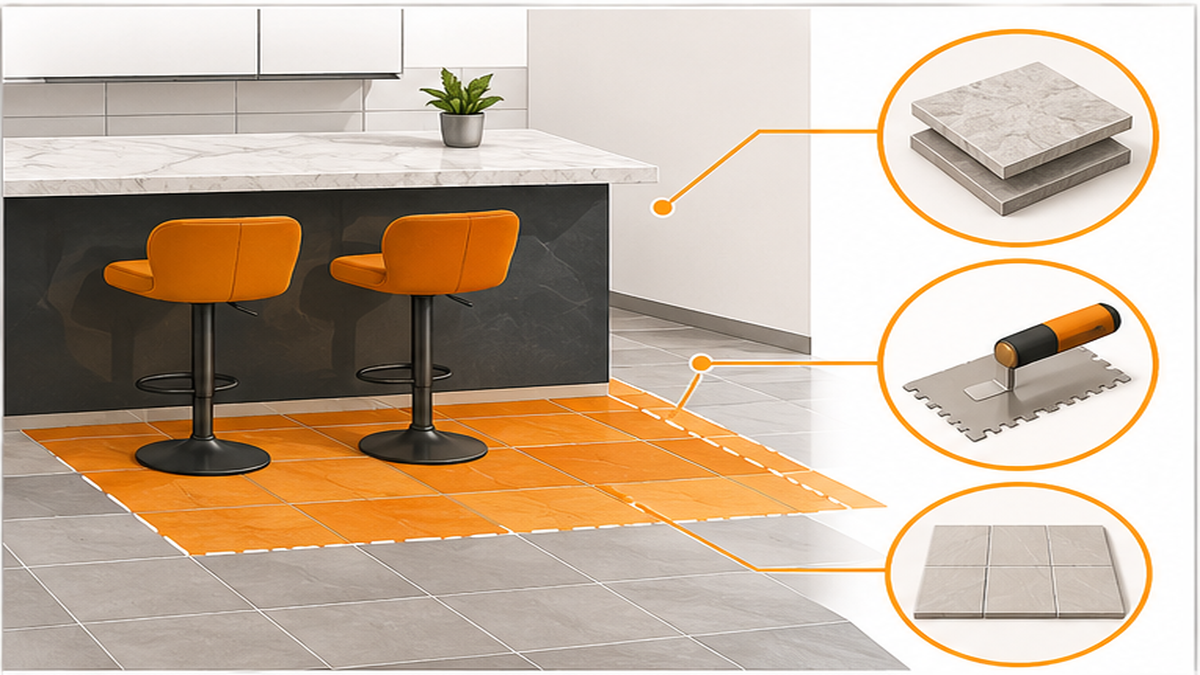
Tiling the area around your kitchen bar stools requires durable materials and precise layout planning. The front of a counter-height bar takes constant abuse from shoes, while the floor underneath must handle the scraping of heavy wooden or metal stools. We start every project in Williamson County with thorough surface prep to ensure the tile adheres correctly and resists cracking under pressure. When planning Kitchen Tile Services, understanding the installation process helps you make informed choices.
- Material selection: Dense materials like porcelain or natural stone work best for high-traffic seating zones. They resist chipping when stools bump against the island.
- Surface prep: The substrate on the face of an island or the floor beneath it must be perfectly flat. We use proper backerboard and leveling techniques before any thin-set mortar is applied.
- Grout selection and finish: High-performance cementitious grouts prevent staining from spills and shoe scuffs.
Our artisan tile installation and design approach means every joint is considered. If you are considering a larger update, coordinating the bar area with your Backsplash Tiles For Kitchen creates a cohesive, custom design.
Key Decisions for Your Kitchen Seating Area
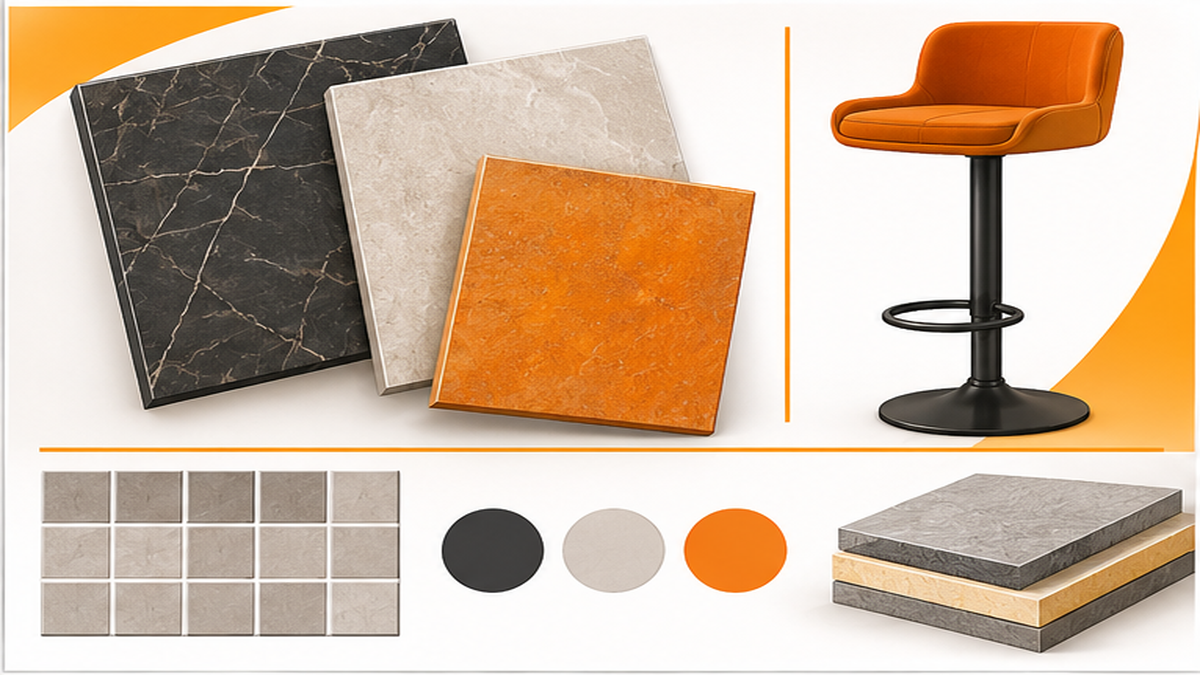
Before we begin a tile installation, homeowners need to make a few practical choices regarding the layout and materials. The right decisions early on prevent costly rework and ensure your kitchen functions exactly how you need it to. We will guide you through the estimate preparation checklist so you know exactly what materials to order.
- Backsplash and floor tile alignment: Decide if the tile on the face of your bar will match your kitchen walls or contrast with your Flooring Kitchen Tile. Aligning grout lines between the floor and the island face requires meticulous planning.
- Tile size and scale: Large-format tiles minimize grout joints. This makes it much easier to slide kitchen bar stools in and out without catching edges or causing premature wear.
- Trim and transitions: The edges where the bar tile meets the drywall or cabinetry require metal profiles or bullnose trim for a clean, finished look.
For larger properties, a Commercial Kitchen setup often requires even stricter durability standards for seating areas, but the core principles of solid substrate prep remain exactly the same.
Common Mistakes When Tiling Around Bar Stools
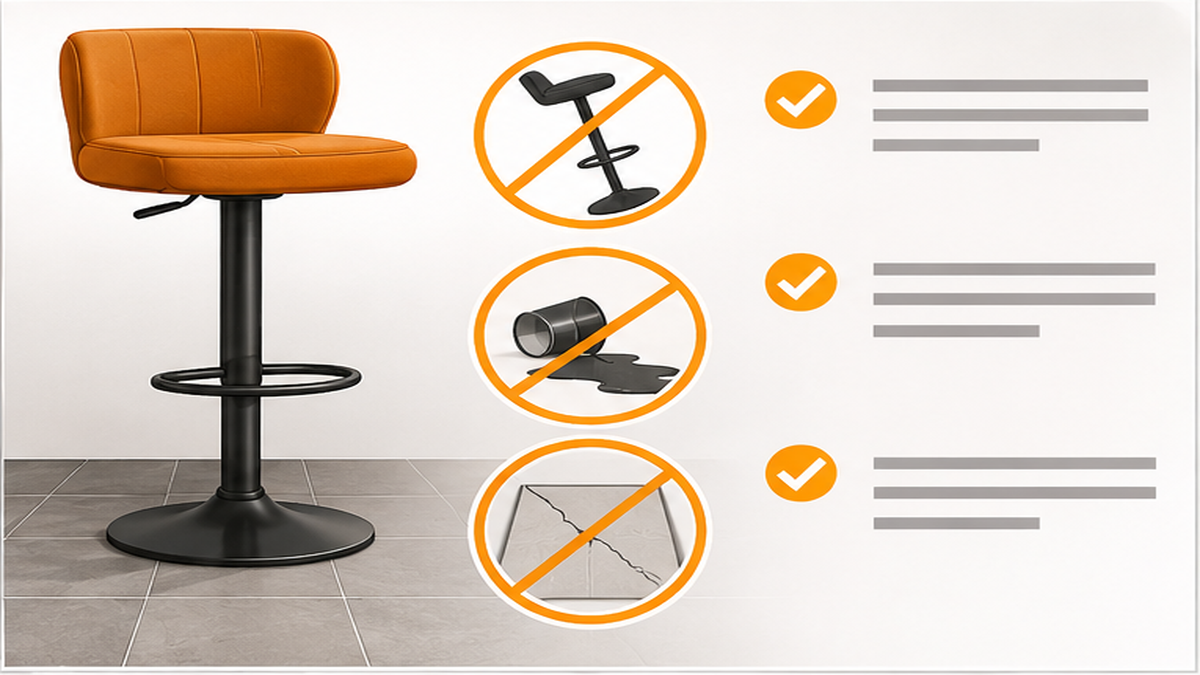
Homeowners often overlook the physical wear and tear that kitchen bar stools inflict on surrounding surfaces. Avoiding these common errors ensures your tile looks great and functions perfectly for years. Many contractors rush the surface prep phase to save time, which inevitably leads to lippage—uneven tile edges that catch the legs of your chairs. We take the time to level the floor properly.
- Ignoring substrate deflection: Installing tile over a bouncy floor leads to cracked grout joints the moment heavy bar stools are used. We check the subfloor structure before laying any backerboard to ensure absolute rigidity.
- Poor layout planning: Failing to center the tile pattern on the bar face leaves awkward, sliver cuts near the edges. We map out the entire grid before mixing any thin-set mortar.
- Choosing the wrong grout: Standard unsealed grout on a bar face will quickly show dirt from shoes resting against the island.
These same strict preparation principles apply whether you are updating a kitchen island or planning a full Bathroom Remodeling project. Proper prep is never optional.
When to Call a Tile Professional
While painting an island is a simple weekend task, installing tile on a counter-height bar requires professional tools and expertise. You should contact a specialized tile craftsman when your project involves complex cuts, electrical outlets, or structural prep. We protect your home during the entire process, ensuring dust is contained and your daily routine is respected.
- Outlet integration: Most kitchen islands have electrical outlets that require precise tile cuts to ensure the cover plates sit flush against the surface.
- Floor transitions: If you are replacing the floor beneath the stools, a professional ensures the new tile transitions smoothly to adjoining rooms without toe-stubbing lippage.
- Custom layouts: Artisan tile installation and design require an experienced eye to wrap patterns around outside corners cleanly.
If you live in Franklin, Brentwood, or Spring Hill, Oleksiy personally handles these exacting details. With 20+ years of tile and stone experience, we deliver clean, detailed, careful work that a general handyman simply cannot match.
Related Services
Ready to Update Your Kitchen Seating Area?
Frequently Asked Questions
How is Kitchen Tile Services priced in my area?
What should I know about Kitchen Tile Services?
How long does Kitchen Tile Services take?
How do I get an estimate?
Maintenance Tips for Kitchen Bar Tile
Keeping the tile around your kitchen bar stools looking new requires minimal but consistent care. Once the grout is fully cured, a basic routine protects your investment.
- Use felt pads: Always attach heavy-duty felt pads to the bottom of your bar stools to prevent scratching the floor tile or catching on grout joints.
- Clean spills quickly: Wipe up food and drink spills immediately using a pH-neutral tile cleaner to protect the grout finish.
- Avoid abrasive scrubbers: Do not use steel wool or harsh chemicals on the face of your tiled bar, as this can dull the finish of natural stone or glazed porcelain.
- Inspect grout lines: Check the grout around the base of the island annually. If you notice any hairline cracks from house settling, address them early to maintain a seamless look.