
Bathtub To Walk In Shower Conversion
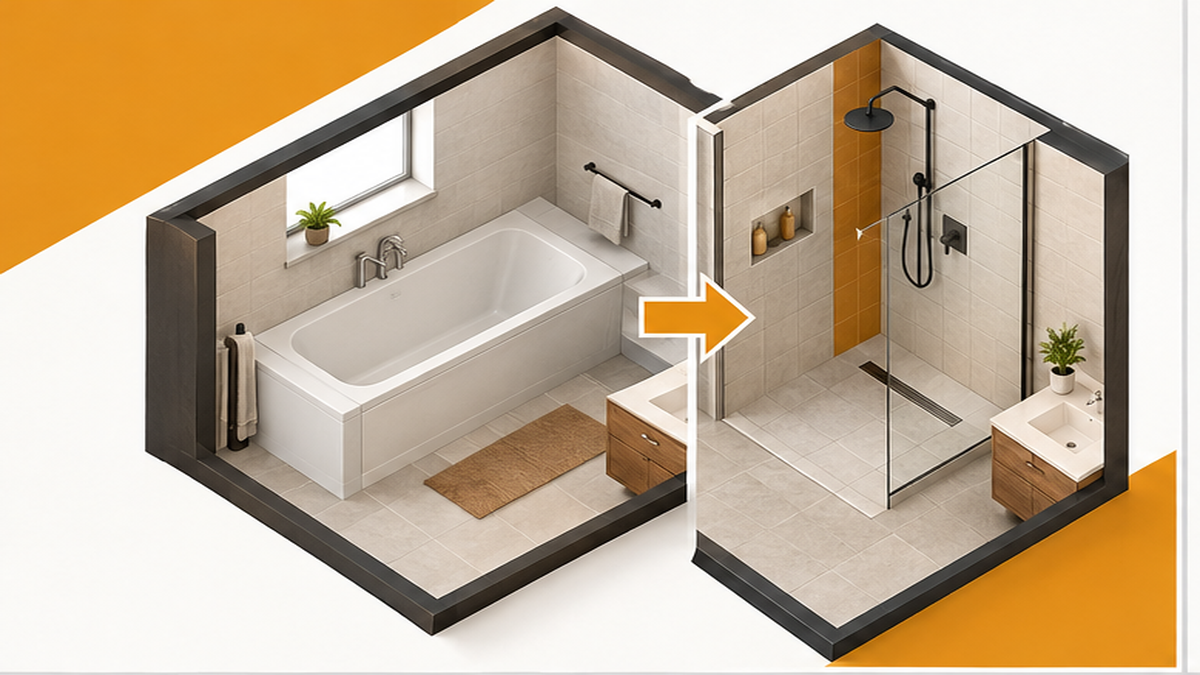
Converting a bathtub to a walk-in shower involves removing the existing tub, inspecting the subfloor, installing a custom shower pan, applying proper waterproofing, and setting new tile. For homeowners in Franklin, TN, this upgrade improves bathroom accessibility and updates the room's design. The process requires careful substrate preparation and layout planning to ensure proper drainage and a watertight seal. Rather than relying on a fixed online price, a reliable project plan starts with an on-site consultation to assess your specific plumbing and structural needs. With over 20 years of tile and stone experience, Oleksiy Kolesnyk personally handles every project to ensure the underlying structure is as sound as the final finish.
Understanding the Conversion Process
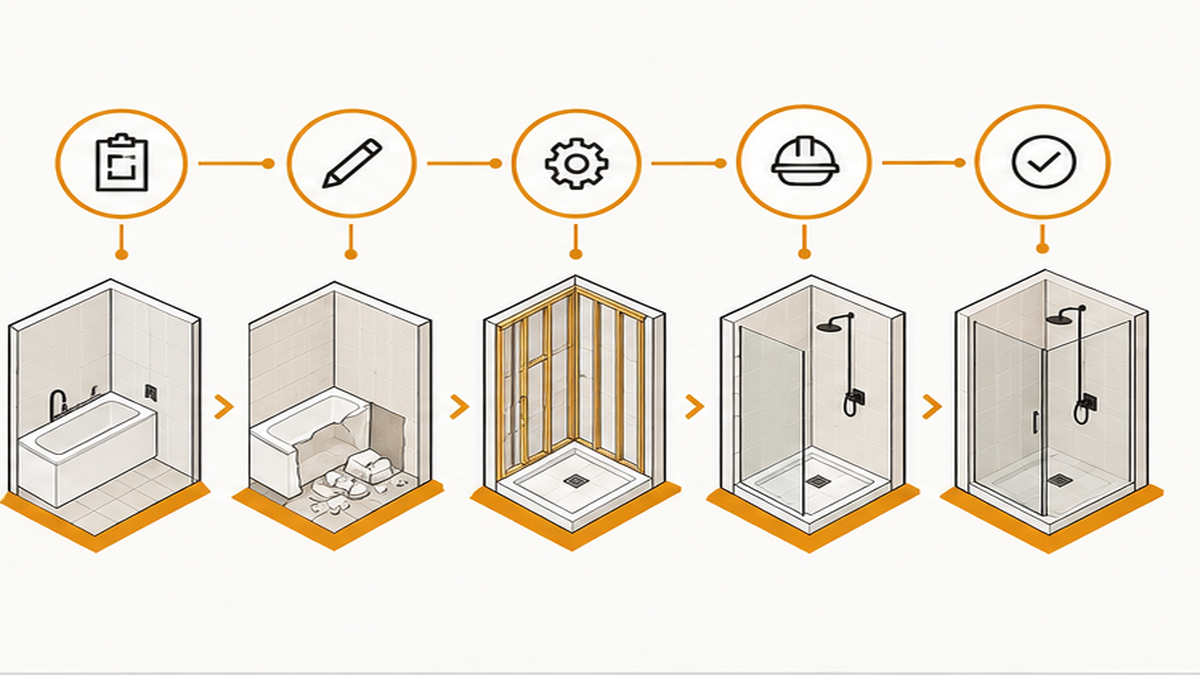
A successful tub-to-shower conversion requires more than just swapping fixtures. Once the old bathtub is removed, the exposed wall cavity and subfloor must be evaluated for moisture damage or structural sagging. If the floor is uneven, we level the substrate before building the new shower pan. Proper shower pan prep is critical to ensure water flows correctly toward the drain without pooling.
After the pan is set, we apply a comprehensive waterproof membrane across the wet area. This moisture protection layer is what prevents future leaks and protects your home's framing. Material selection also plays a significant role in the daily function of your new shower. Dense, slip-resistant floor tiles are typically recommended for the shower pan, while larger format tiles can be used on the walls to reduce grout lines. Layout planning ensures that niches, benches, and tile patterns align symmetrically. Every step, from the initial demolition to the final grout joint, requires careful technique and quality materials to ensure the shower holds up for decades. We handle custom bathroom remodels with an emphasis on clean, detailed, careful work, ensuring that your daily routine is respected while the installation takes place.
Key Decisions for Your Shower Upgrade
When planning your bathroom remodel, several key decisions will shape the final result. First, consider the shower threshold. A low-curb or curbless design offers maximum accessibility, but a curbless entry often requires modifying the floor joists to recess the shower pan. You will need to decide if the structural work fits your timeline and budget.
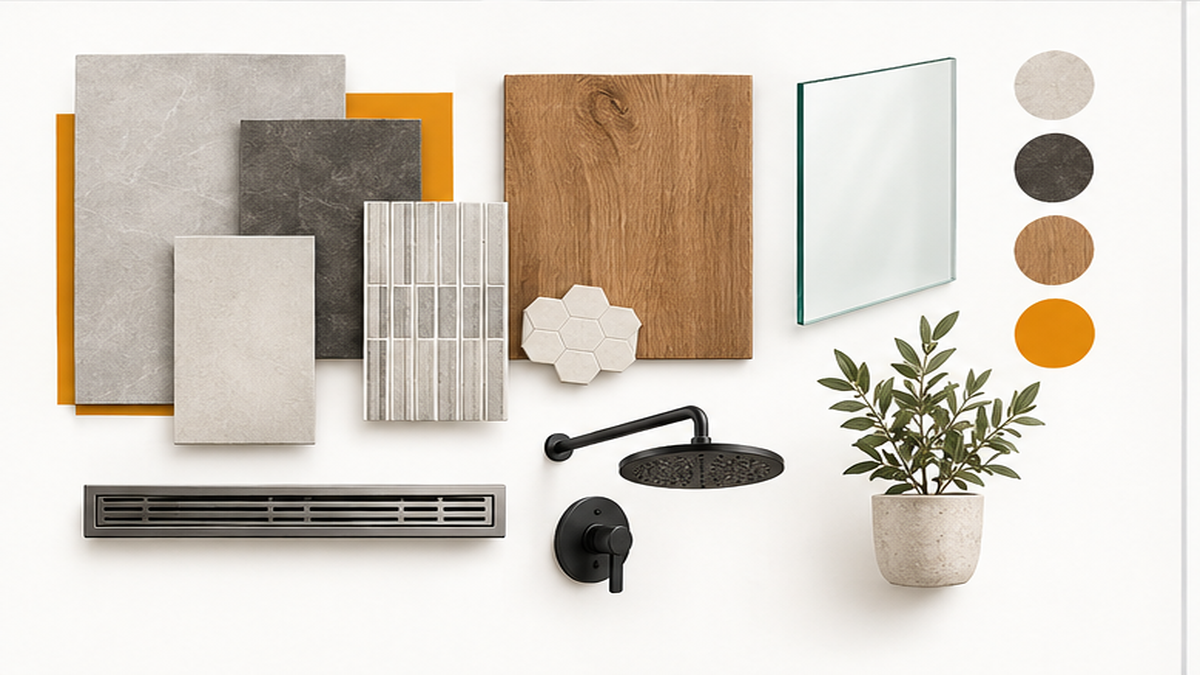
Next, evaluate your material options. While some homeowners look into acrylic shower installers for a quick fix, a custom tile shower provides long-term durability and a tailored aesthetic. You will also need to choose the type of fixtures, such as a standard wall-mounted showerhead versus a handheld wand or rain fixture, which may require plumbing adjustments during the rough-in phase. Exploring a bath tub to shower conversion cost guide can help you understand how these specific choices impact the overall investment.
Finally, think about storage and seating. Built-in niches and corner benches must be framed and waterproofed before the tile is installed. Discussing these features during the estimate preparation checklist ensures that all framing and material requirements are accounted for before demolition begins.
Common Mistakes to Avoid
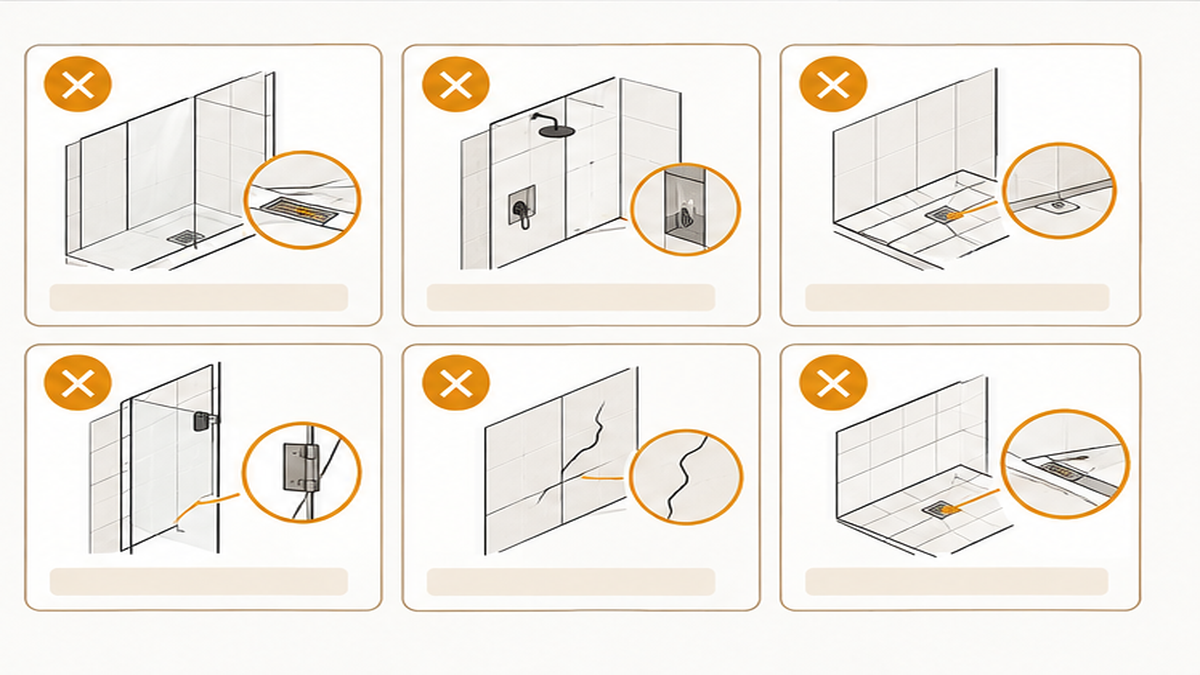
One of the most frequent mistakes in a tub-to-shower conversion is failing to properly waterproof the entire wet area. Relying solely on tile and grout to block moisture is a misconception; the waterproof membrane beneath the tile is the actual barrier. Skipping this layer often leads to hidden rot and costly repairs down the road.
Another common error is ignoring the substrate condition. Installing new tile over a flexible or uneven subfloor will eventually cause grout joints to crack and tiles to pop loose. A rigid, properly prepared substrate is non-negotiable for a lasting installation. Homeowners also sometimes underestimate the importance of proper slope in the shower pan. If the mud bed is not pitched correctly to the drain, water will pool, leading to mold growth and squishy shower floor sensations.
Additionally, poor layout planning can result in awkward tile cuts or lippage—those toe-stubbing tile edges that occur when adjacent tiles are not perfectly flush. Taking the time to dry-fit the tile and plan the layout symmetrically prevents these visual flaws and ensures a clean, professional finish.
When to Call a Tile Contractor
While some minor cosmetic updates can be handled independently, a full shower conversion involves structural, plumbing, and moisture-management complexities that require professional expertise. You should contact a contractor when the project requires altering the plumbing footprint, such as moving the drain location from a standard left-or-right tub drain to a center shower drain.
Professional intervention is also necessary if you discover soft spots, water stains, or mold in the subfloor after removing the old bathtub. These are clear indicators of existing leaks that must be repaired before any new materials are installed. Furthermore, building a custom shower pan and applying a watertight membrane demand specific technical knowledge. If you are unsure how to properly overlap waterproofing seams or calculate the correct slope for drainage, it is time to bring in an experienced installer.
Oleksiy Kolesnyk personally handles every project, ensuring that the underlying structure is sound and the final tile work is perfectly aligned. Our approach is grounded in artisan tile installation and design, delivering a reliable result for Franklin homeowners.
Related Services and Guides
Ready to Discuss Your Project?
Common Questions
How much should it cost to convert a bathtub to a walk-in shower?
Can you turn a regular bathtub into a walk-in tub?
How long does a bathroom tile remodel take?
How do I request a bathroom remodel estimate?
Maintaining Your Walk-In Shower
Keeping your new walk-in shower in excellent condition requires consistent, straightforward maintenance. Start by using a squeegee on the tile walls and glass doors after every use. This simple habit prevents hard water buildup and soap scum from settling into the grout joints.
When cleaning the surface, avoid harsh acidic cleaners or abrasive scrubbing pads, which can degrade the grout and damage the tile finish. Instead, use a pH-neutral tile cleaner and a soft sponge or microfiber cloth. It is also important to ensure your bathroom is well-ventilated; running an exhaust fan during and after your shower helps lower humidity and prevents mildew growth. Finally, inspect the silicone sealant around the corners and changes of plane annually. Replacing any worn sealant promptly will maintain the watertight integrity of your shower for years to come. Proper care protects your investment and keeps the tile looking as precise as the day it was installed.